
I had made a card display for my last show that turned out pretty well, but for my spring show I wanted to try something different.

First and foremost, I wanted to create something with more capacity. As you can see in the above photo, the display can hold 15 cards maximum. Another problem was that the fold up stands and the dowels were too big to fit in the suitcase, and so they had to be carried by hand. The setup was a bit cumbersome as well. Finally, whenever someone purchased a card, it was really difficult for me to reach the middle cards.
The major benefits of this display were that I had a spot behind the curtain to hide my inventory sheet or to eat a quick lunch. I also felt that getting the cards up vertically really helped to draw people to the table.
With these lessons in mind, this is the result of my second try:

Basically I assembled two stretcher frames and then hinged them together. Using stretcher frames instead of picture frames is much cheaper and allows you to customize the size to exactly what you want. Since the wood is raw you could paint it to your shop colors (I liked the raw wood), and you get a nice vertical display for your merchandise.
The new display design resolved my major problems with the previous display. I can fit up to 24 cards on this display, up from 15 previously. It folds flat for easy transportation, so I can hang the frame over my shoulder and have my hands free for the suitcase. It’s super easy to set up, and the curtain is attached from the back so I can flip it up to easily grab items off the strings from behind.
Instructions on how I built the display after the jump:
Materials:
- Four 32″ Stretcher Bars and Four 22″ Stretcher Bars (or whatever your preferred dimensions may be)
- Wood Glue
- Narrow Utility Hinges, 1″ (set of 2)
- Screw Eyes
- String
- Mini Clothespins
- Wire & Curtain (optional)
Tools:
- Ruler + Pencil
- Screwdriver
- Pliers
- Twist Ties
Directions:
Canvas stretchers are available at art supply stores. If you’re lucky your art supply store may have pre-assembled frames, in which case you can skip this whole first part.
 Assemble the stretcher bars to form the frame. The ends have a simple tongue and groove system so all you have to do is slide each stretcher bar into the corresponding end of the other bar. The most important thing to get right is to make sure that your frame is square. One way to check for this is to use a T square. Alternately you can measure the distance of each diagonal, making sure they are equal. If they’re not, you need to adjust the frame until they are. I used the corner of where the counter met the kitchen cabinet (since those both are supposed to be level and square) and adjusted the frame to fit into the corner.
 As you can see here, the corners don’t quite align perfectly (argh!). But it’s more important to have square corners than perfect looking corners. Also make sure that any labels/markings on the frame are all on the same side, so your “good” side will be clean.
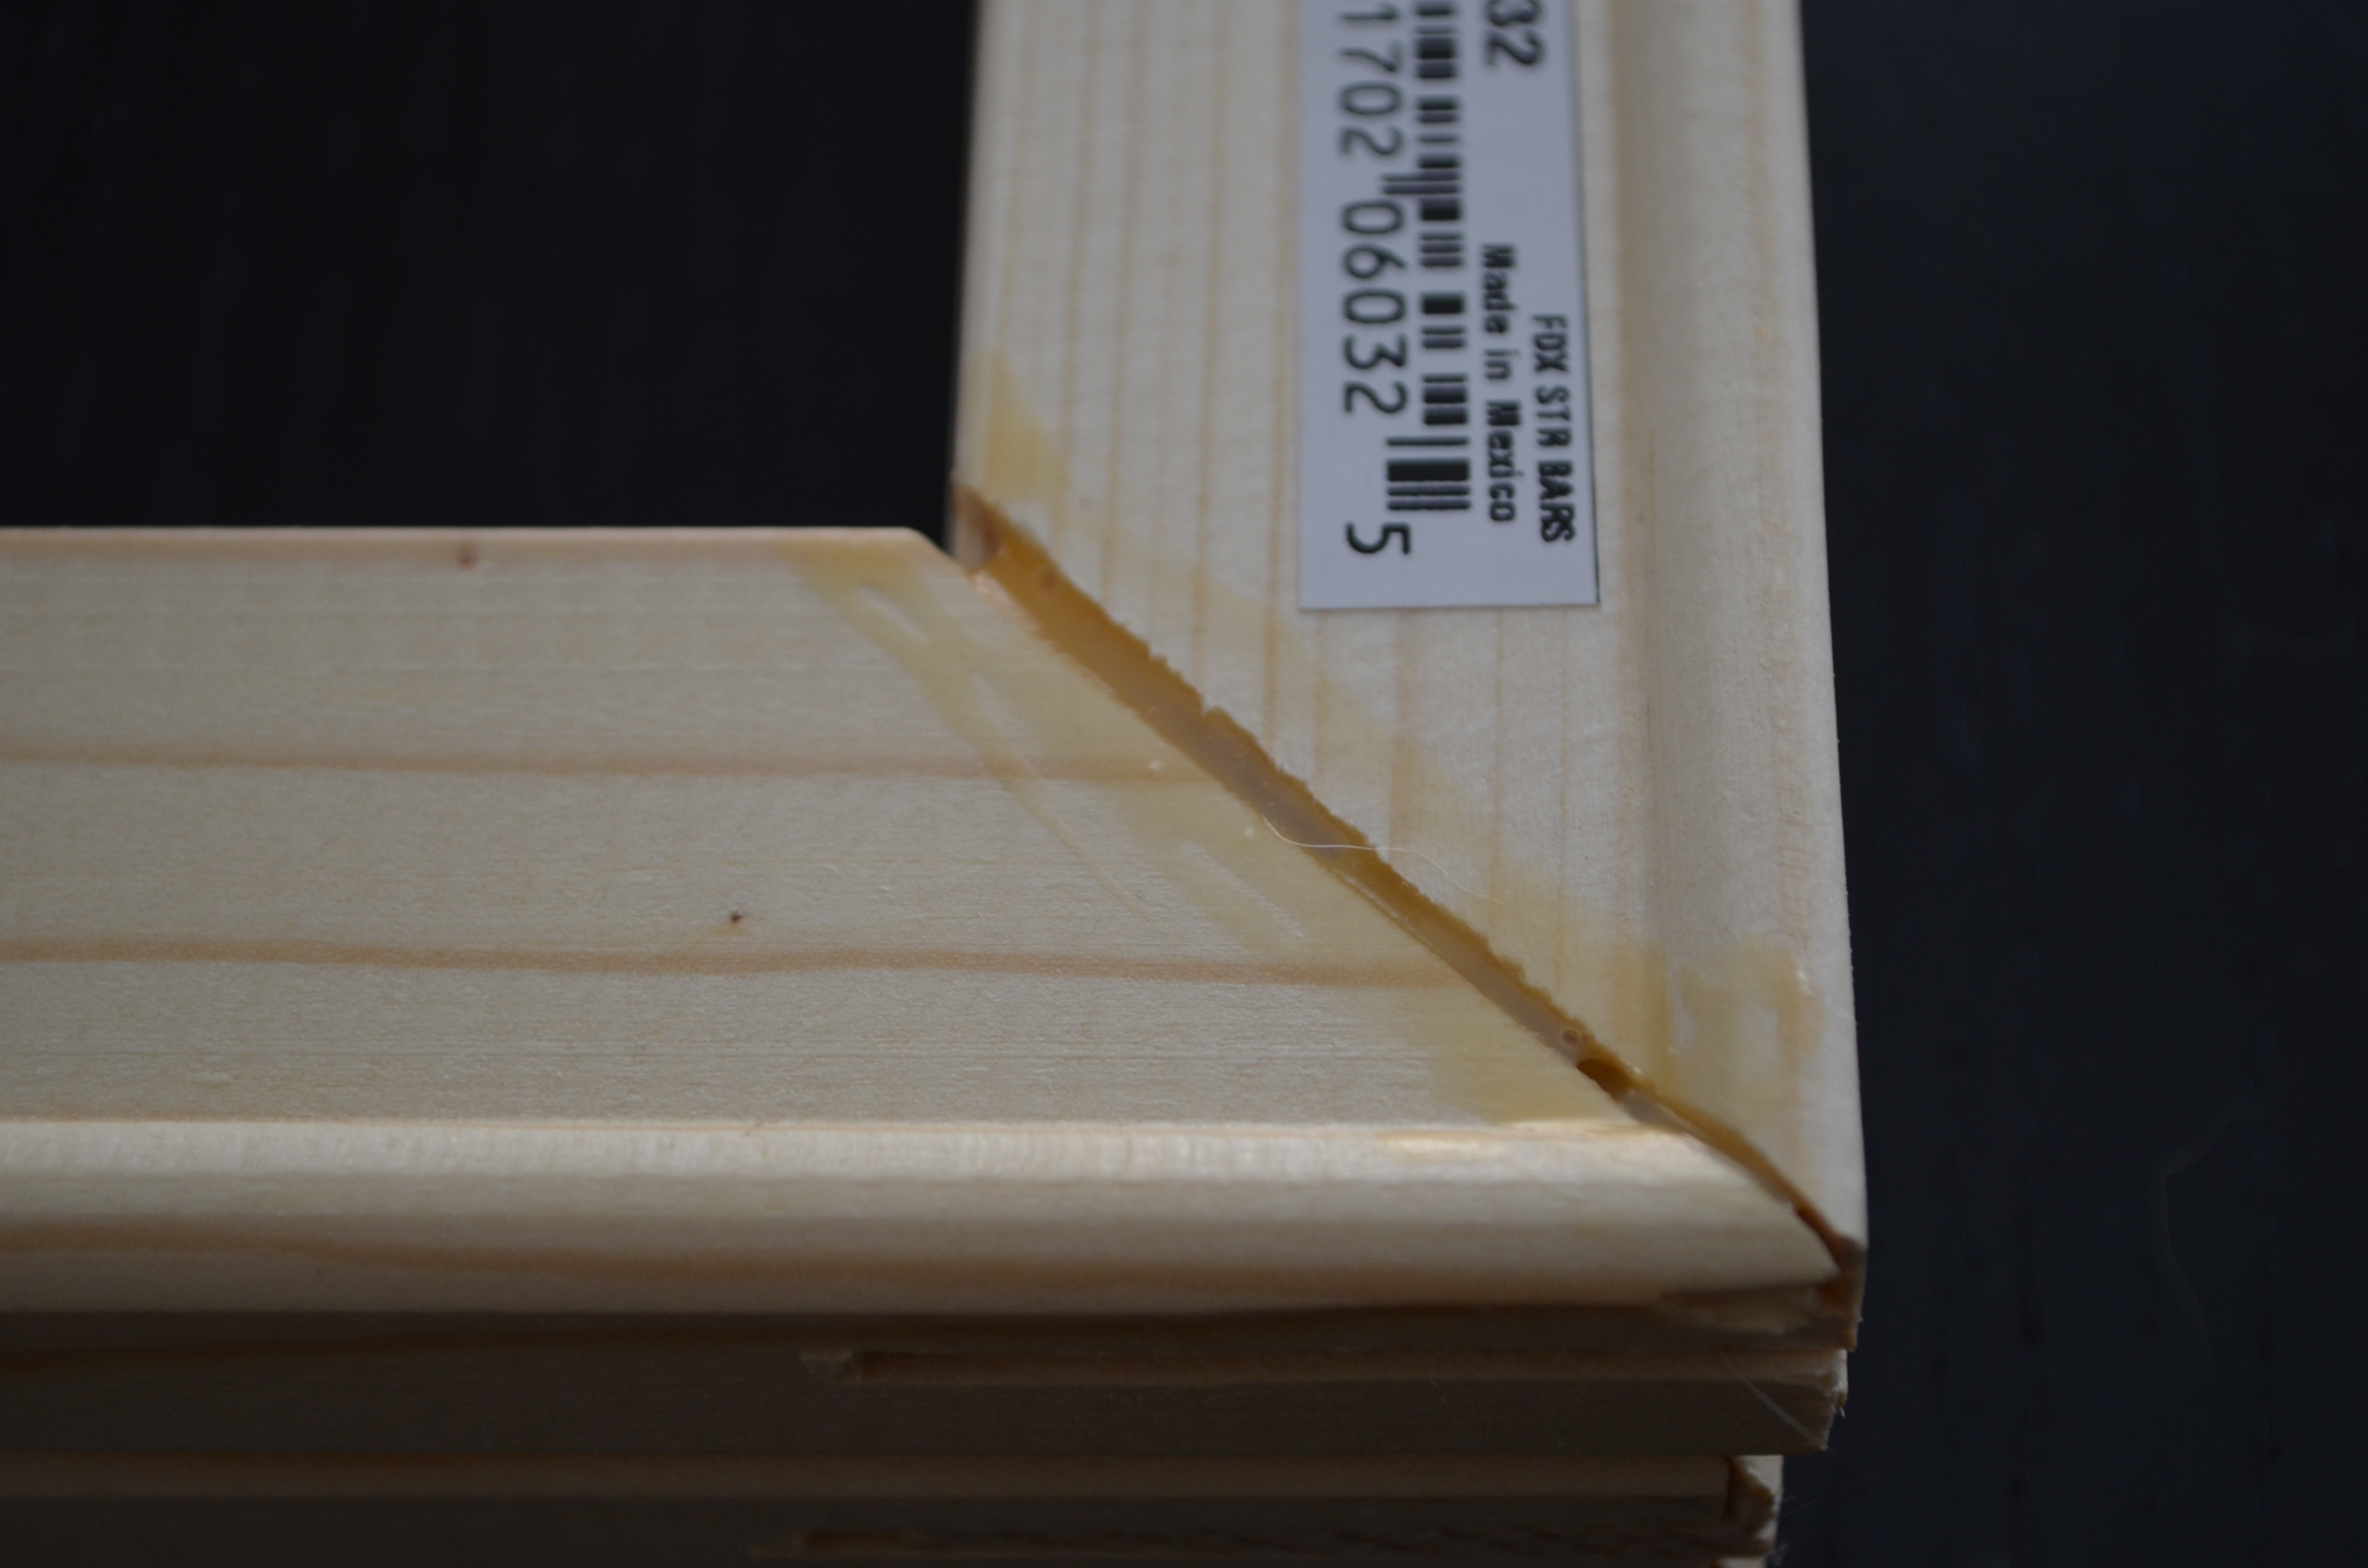
Since we aren’t going to be stretching a canvas over the frame, I added some wood glue to each of the corners on the “wrong side” so they would be nice and sturdy. I simply put a line of glue over the crevice and smoothed it down. Follow the directions for dry time (I left mine overnight).
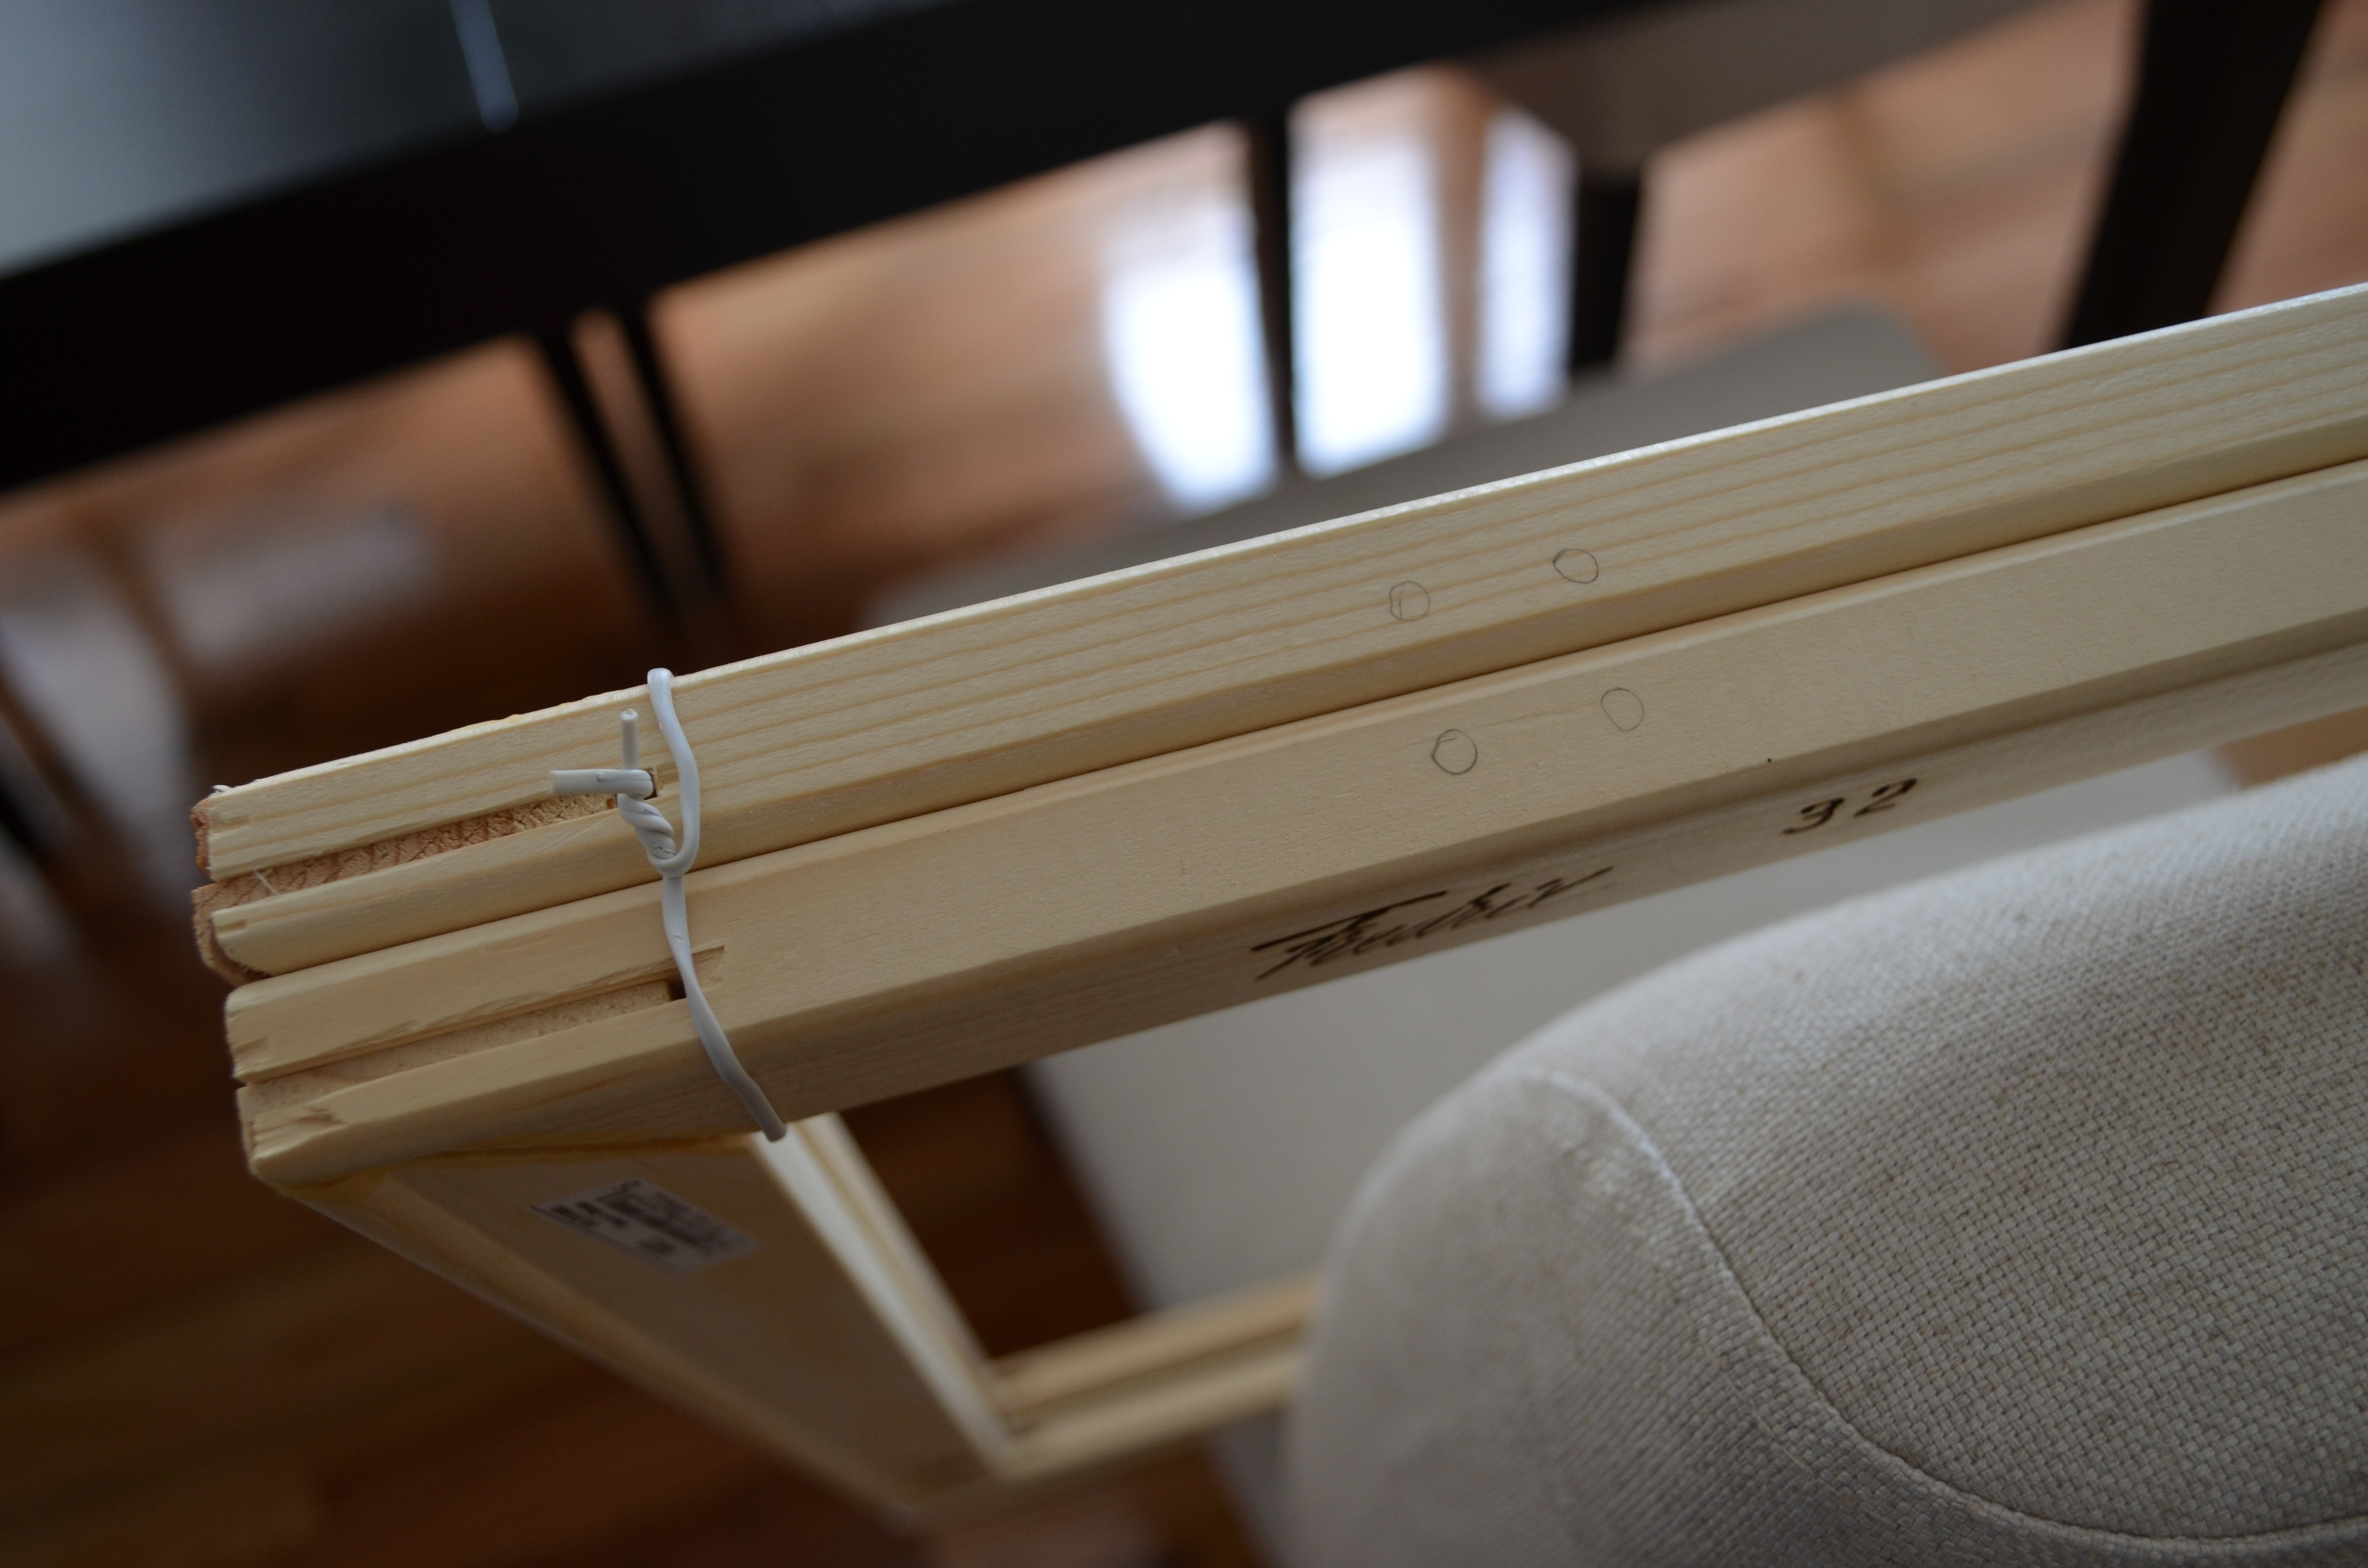
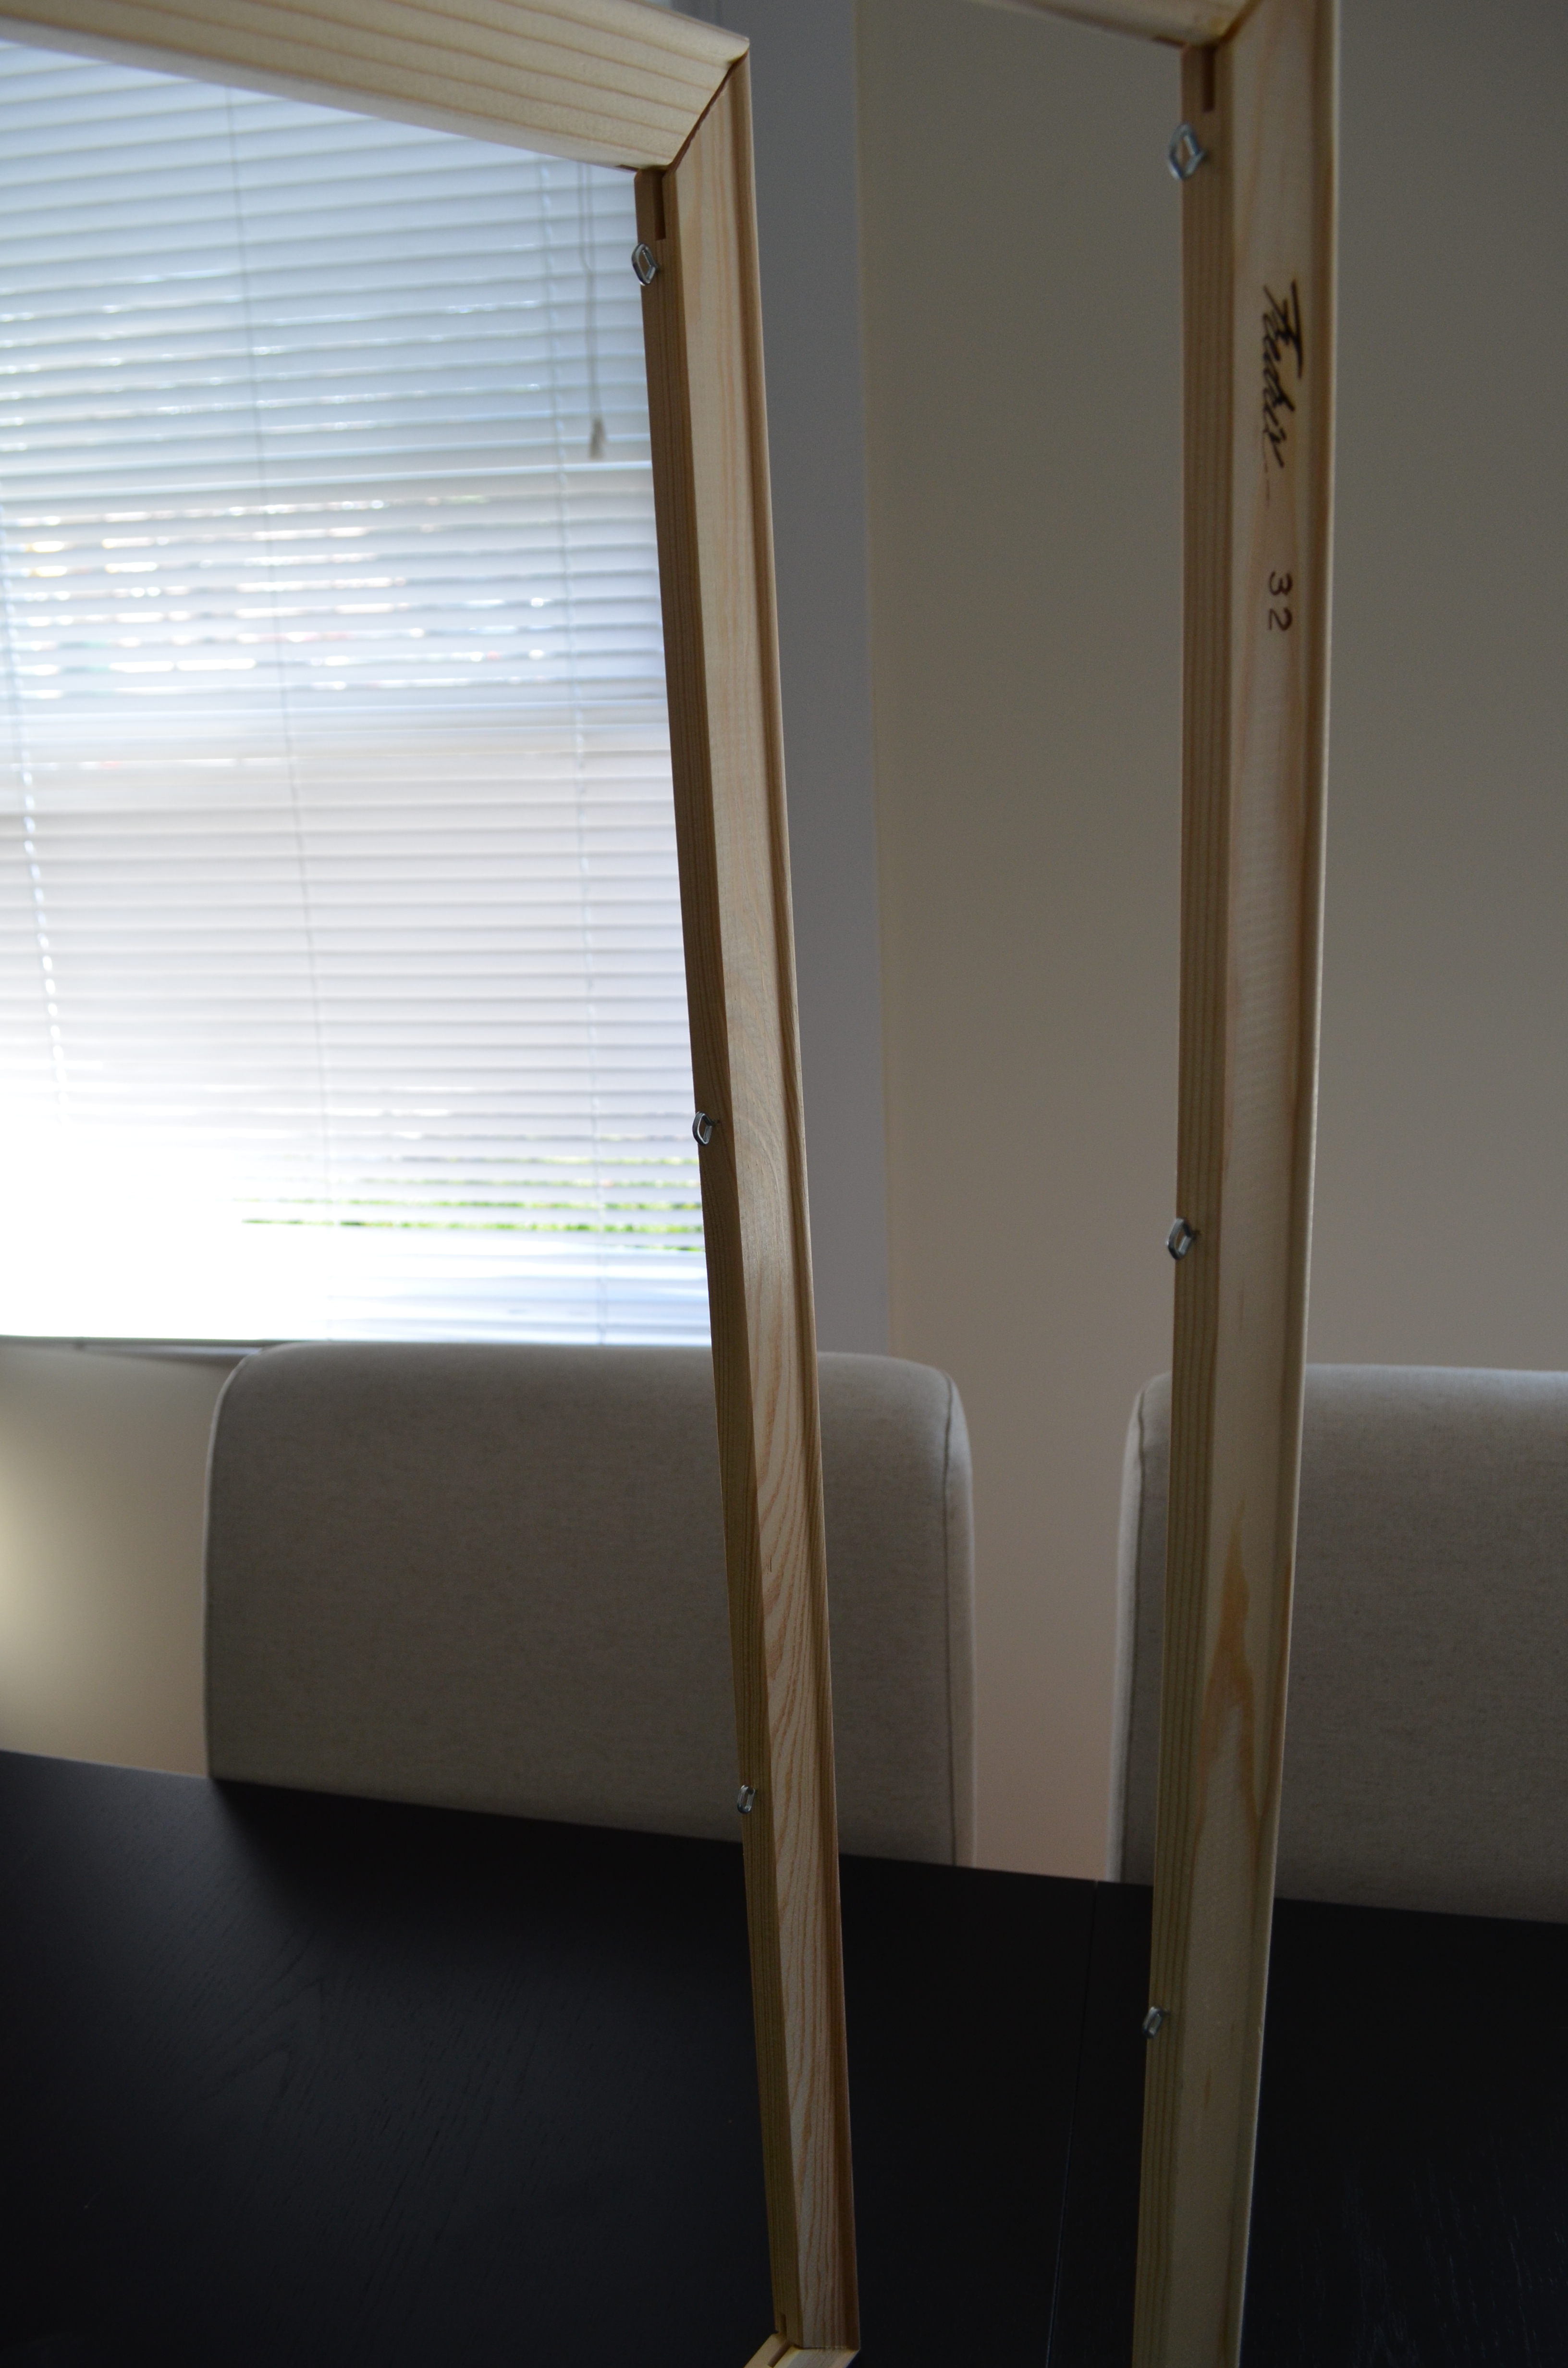
Once your glue is dry, in each corner twisty tie (or tape or otherwise fasten) your two frames together, so that the wrong sides are facing out on each side.
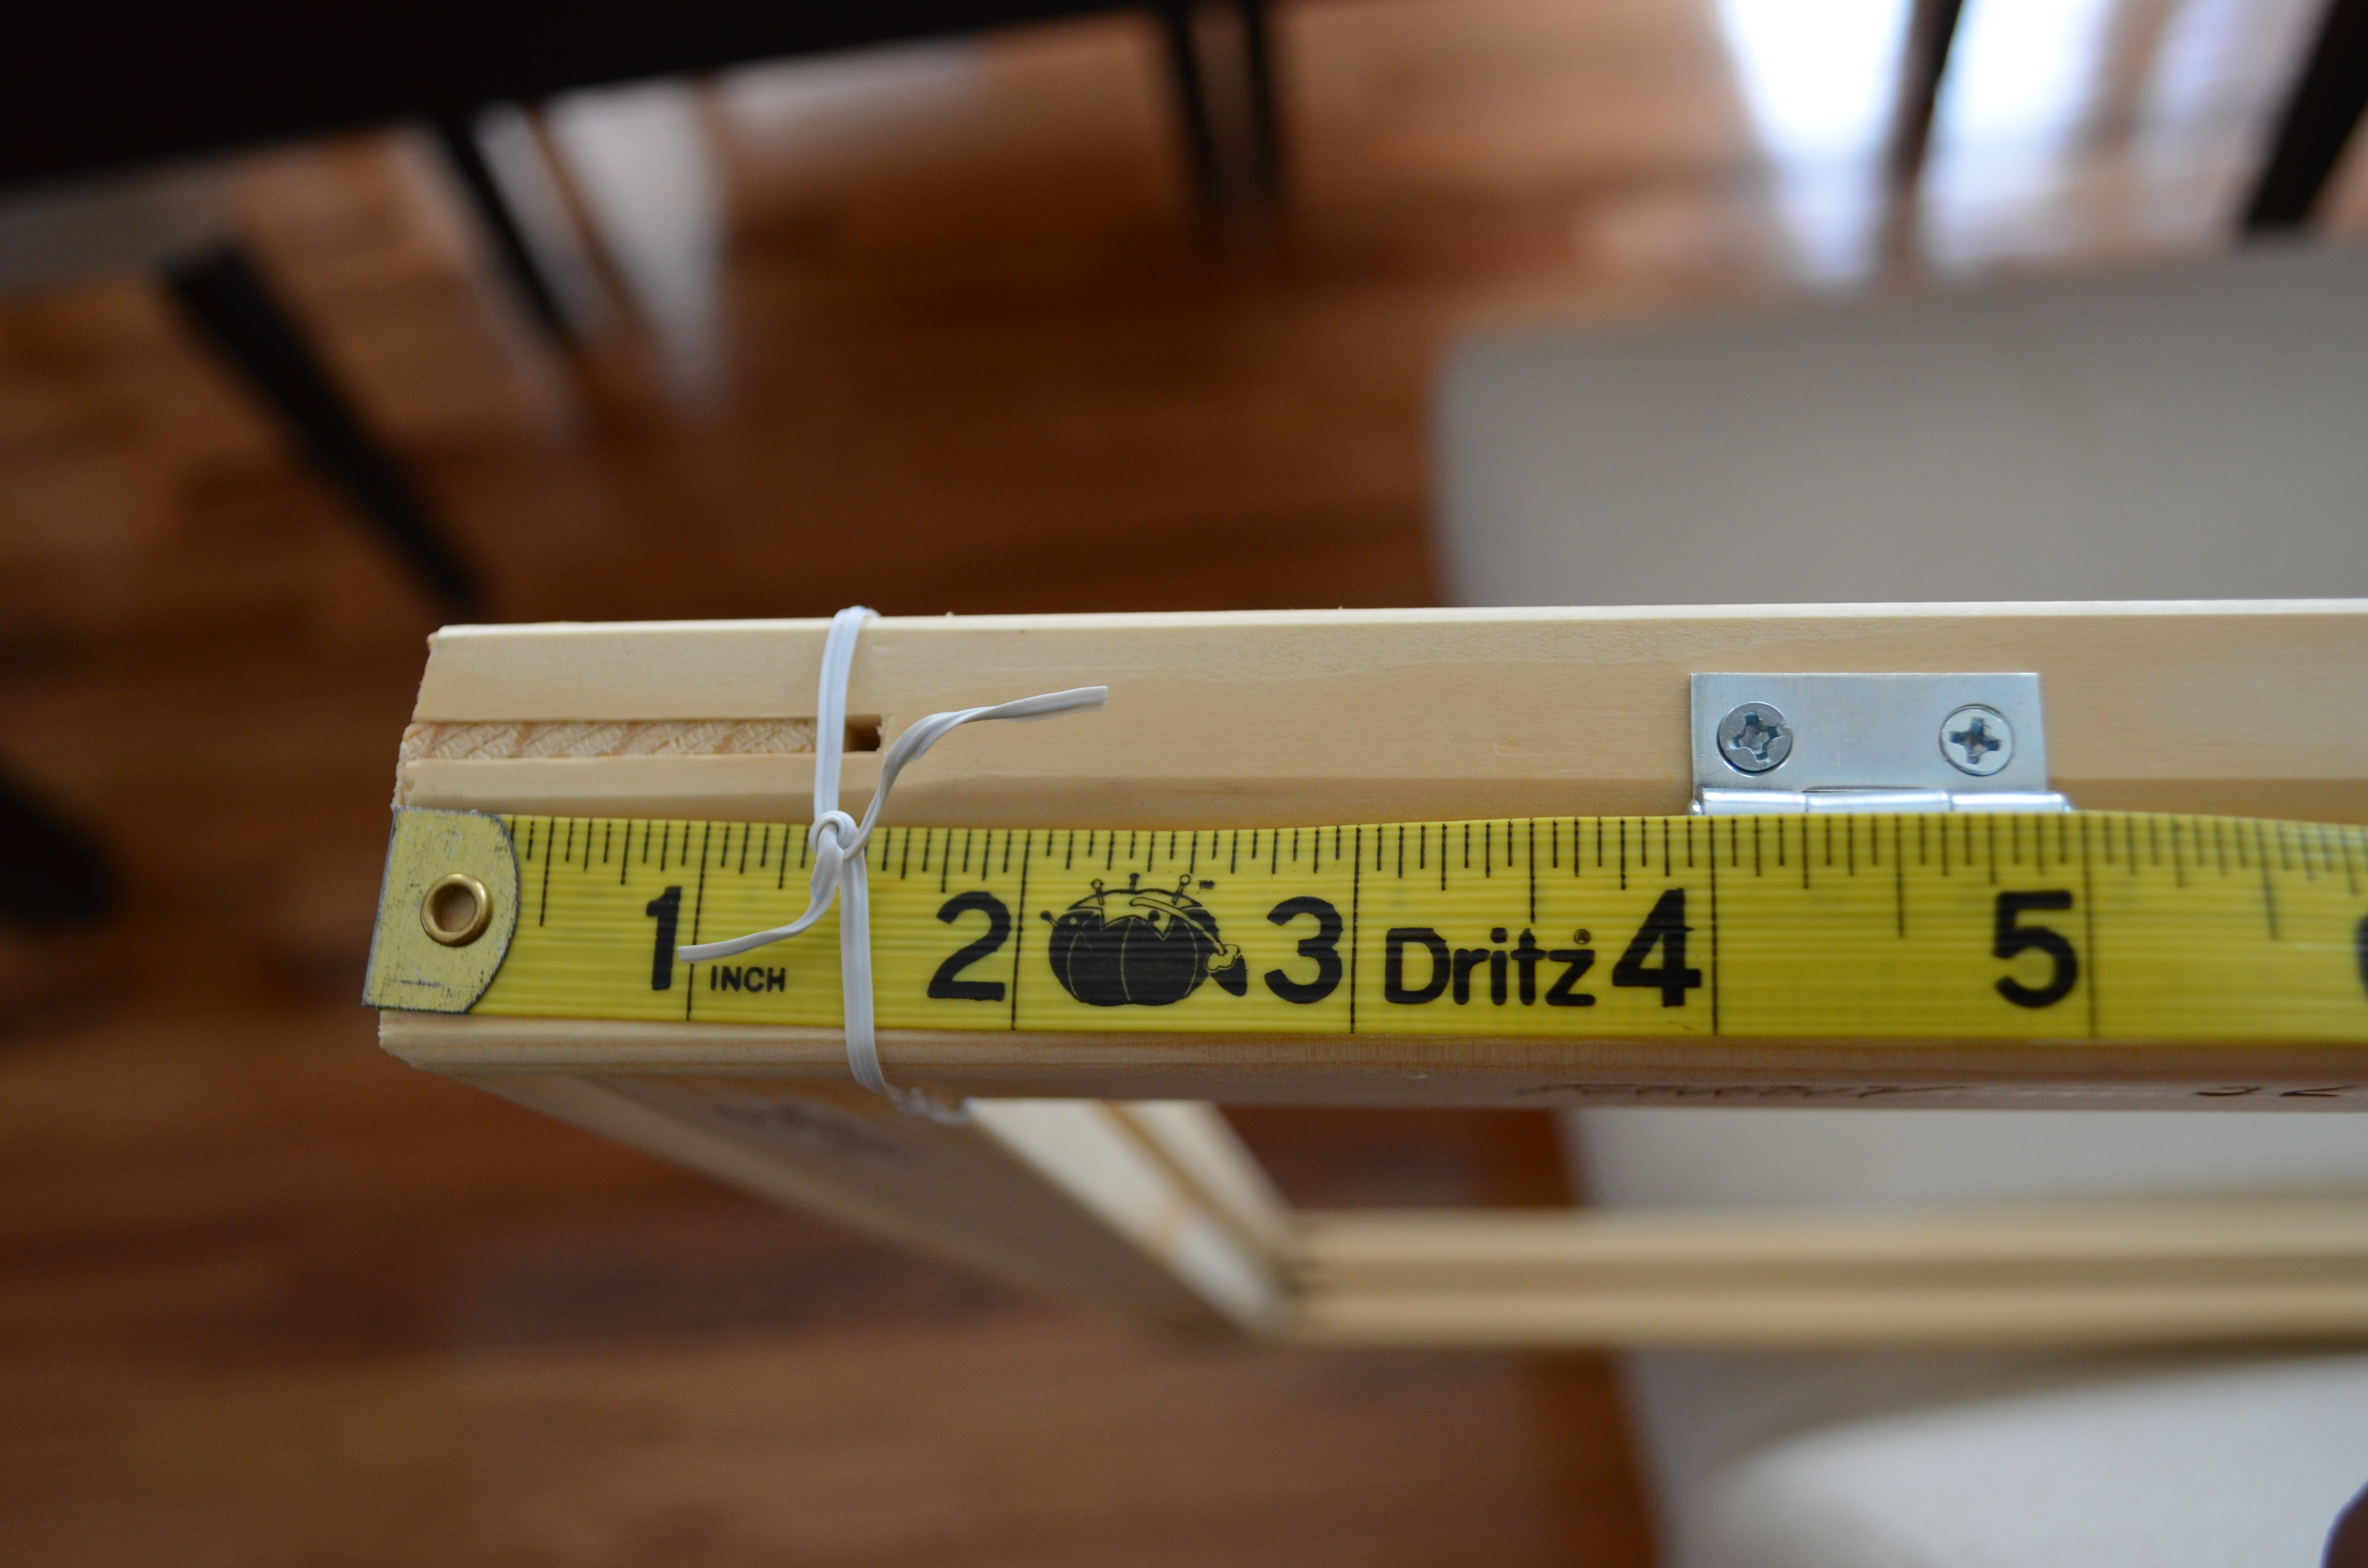 On the long side of the frame, take the hinges and measure 4 inches in from each end and mark your screw holes with a pencil. Screw in the hinges to match your marks.
 Here’s what my hinges looked like on completion.
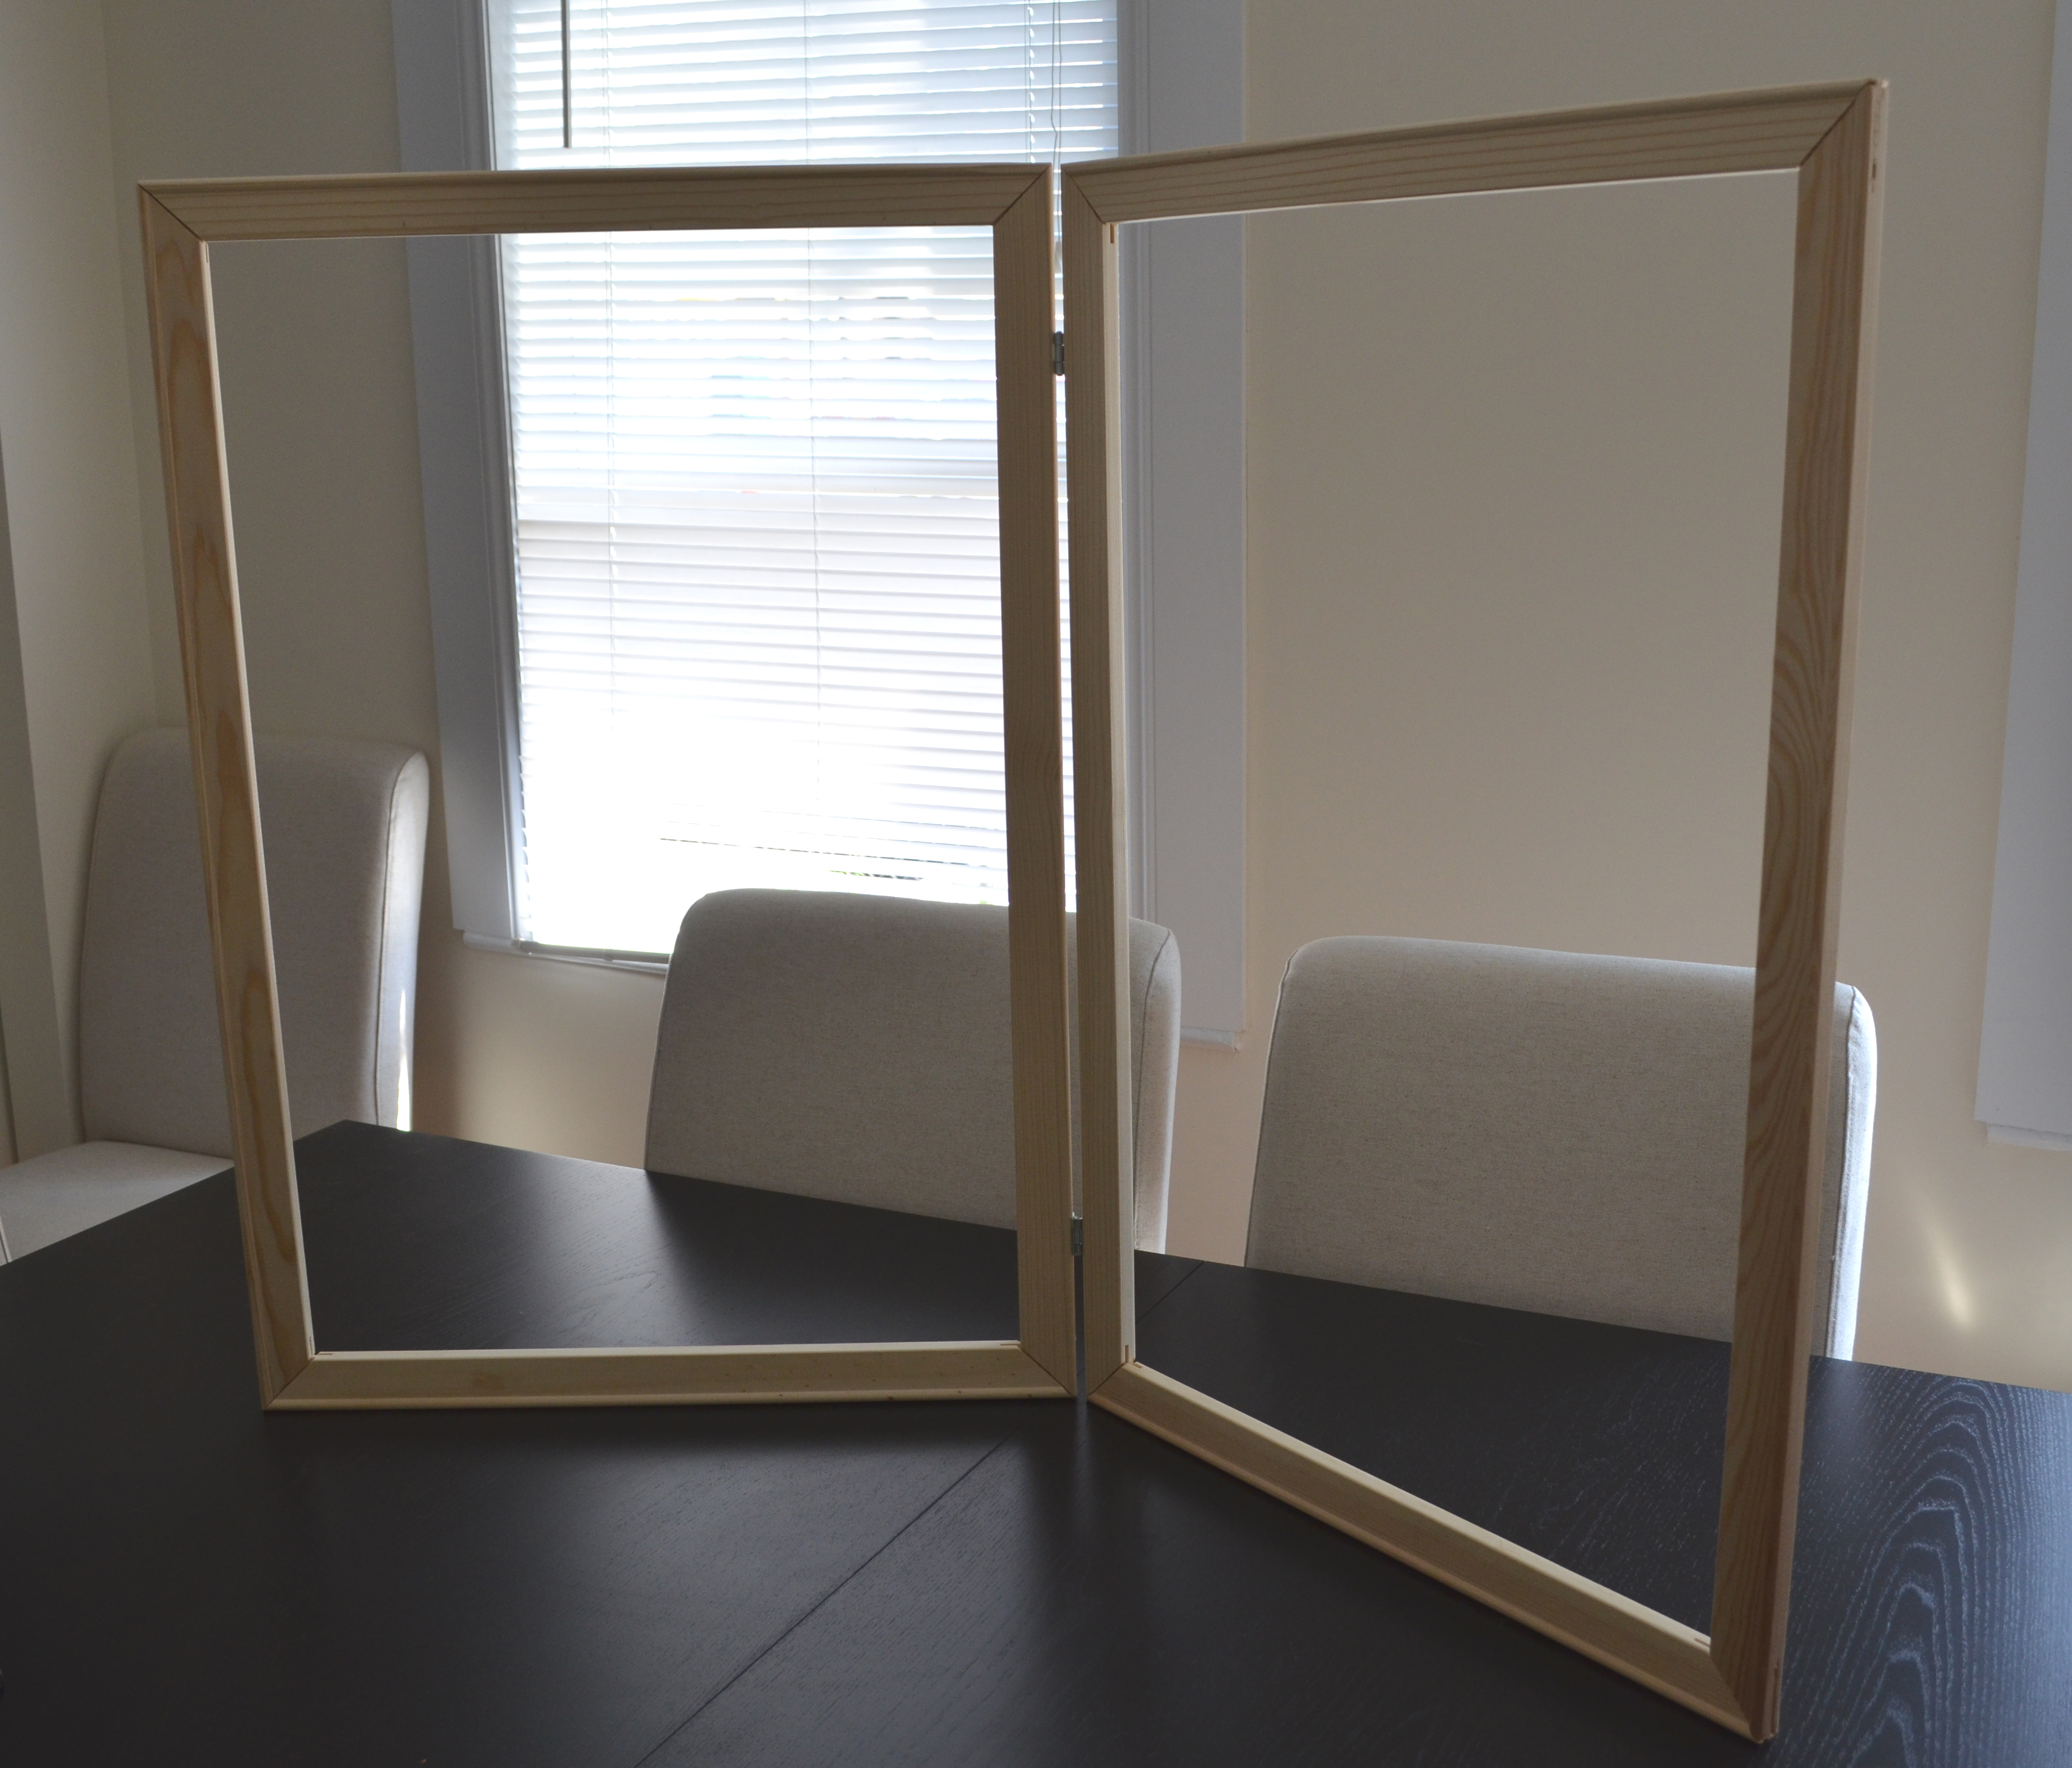
And here’s what the frame looks like from the front.
 Measure out where you want your “clotheslines” hung. The spacing on the screw eyes depends entirely on what you want to hang on the frame. For my display I wanted the two top lines for smaller items and the bottom row reserved for large items. In addition to the height of your items, make sure you allow a margin of an inch or so to allow for the sag of the string when weighted down.
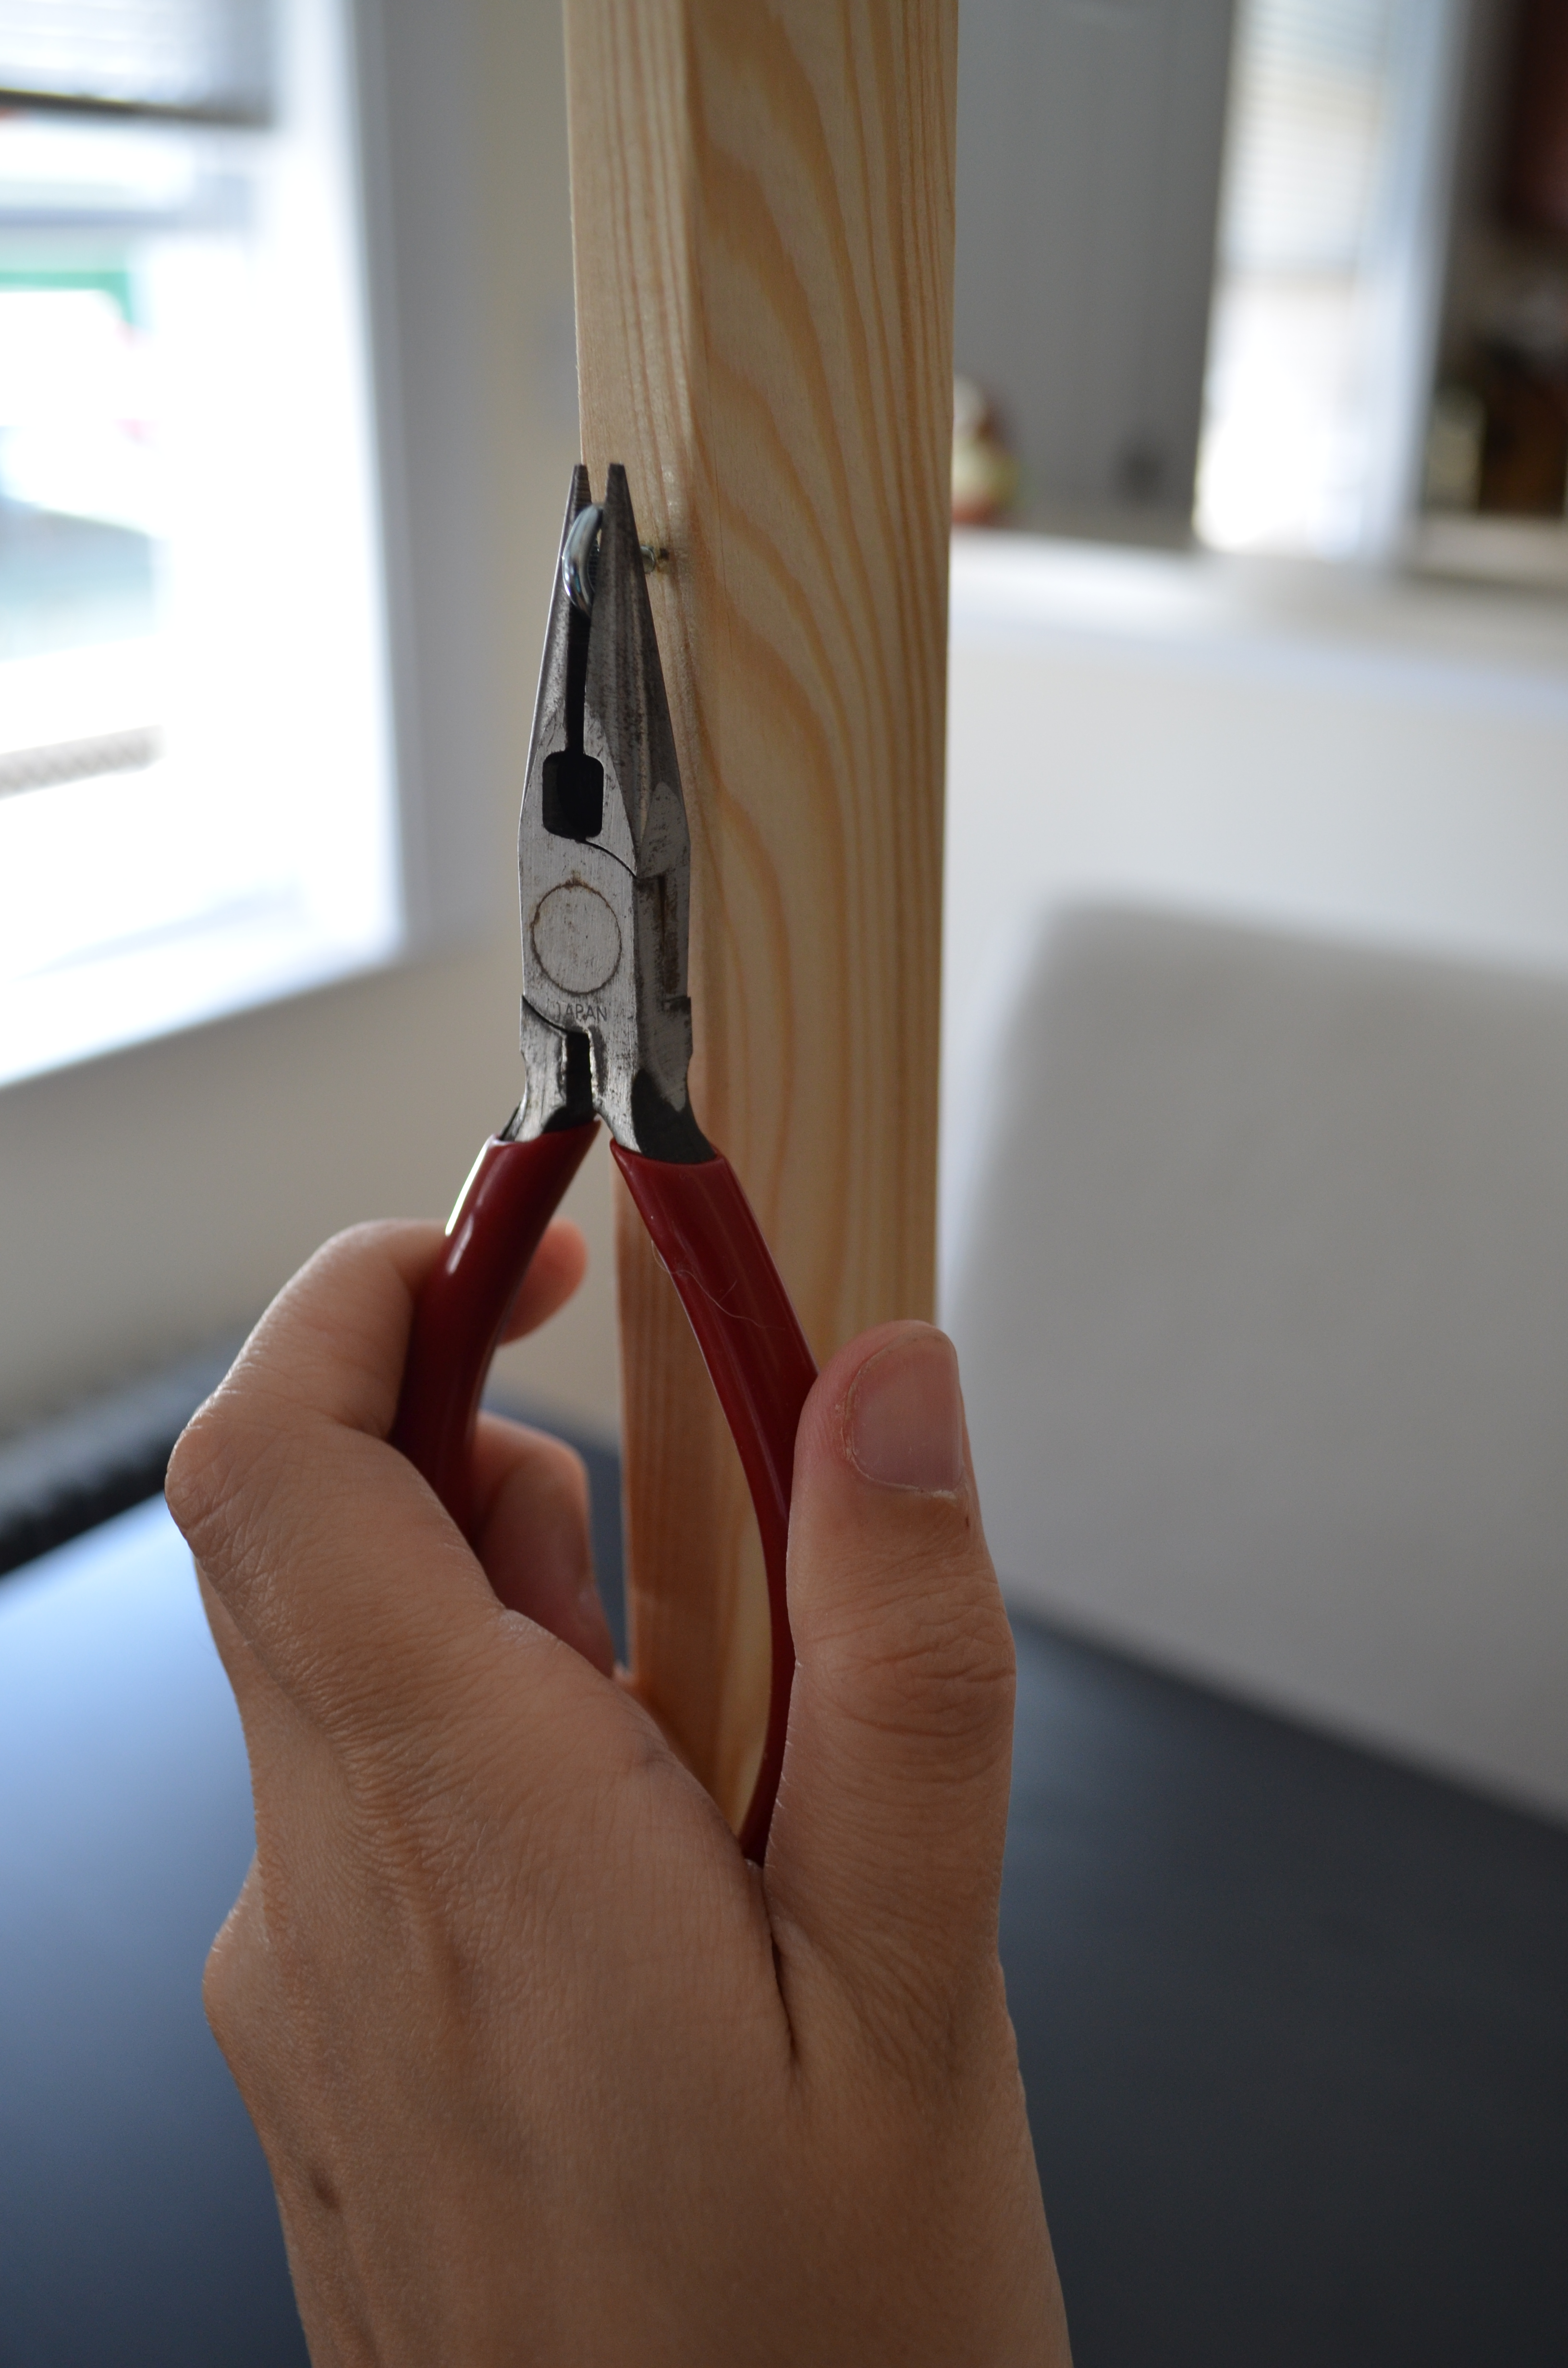 I used my fingers to get the screw eye started, and then finished screwing it in tight with a pair of pliers.
 Tie string from each screw eye to the other, keeping the line as taut as possible.
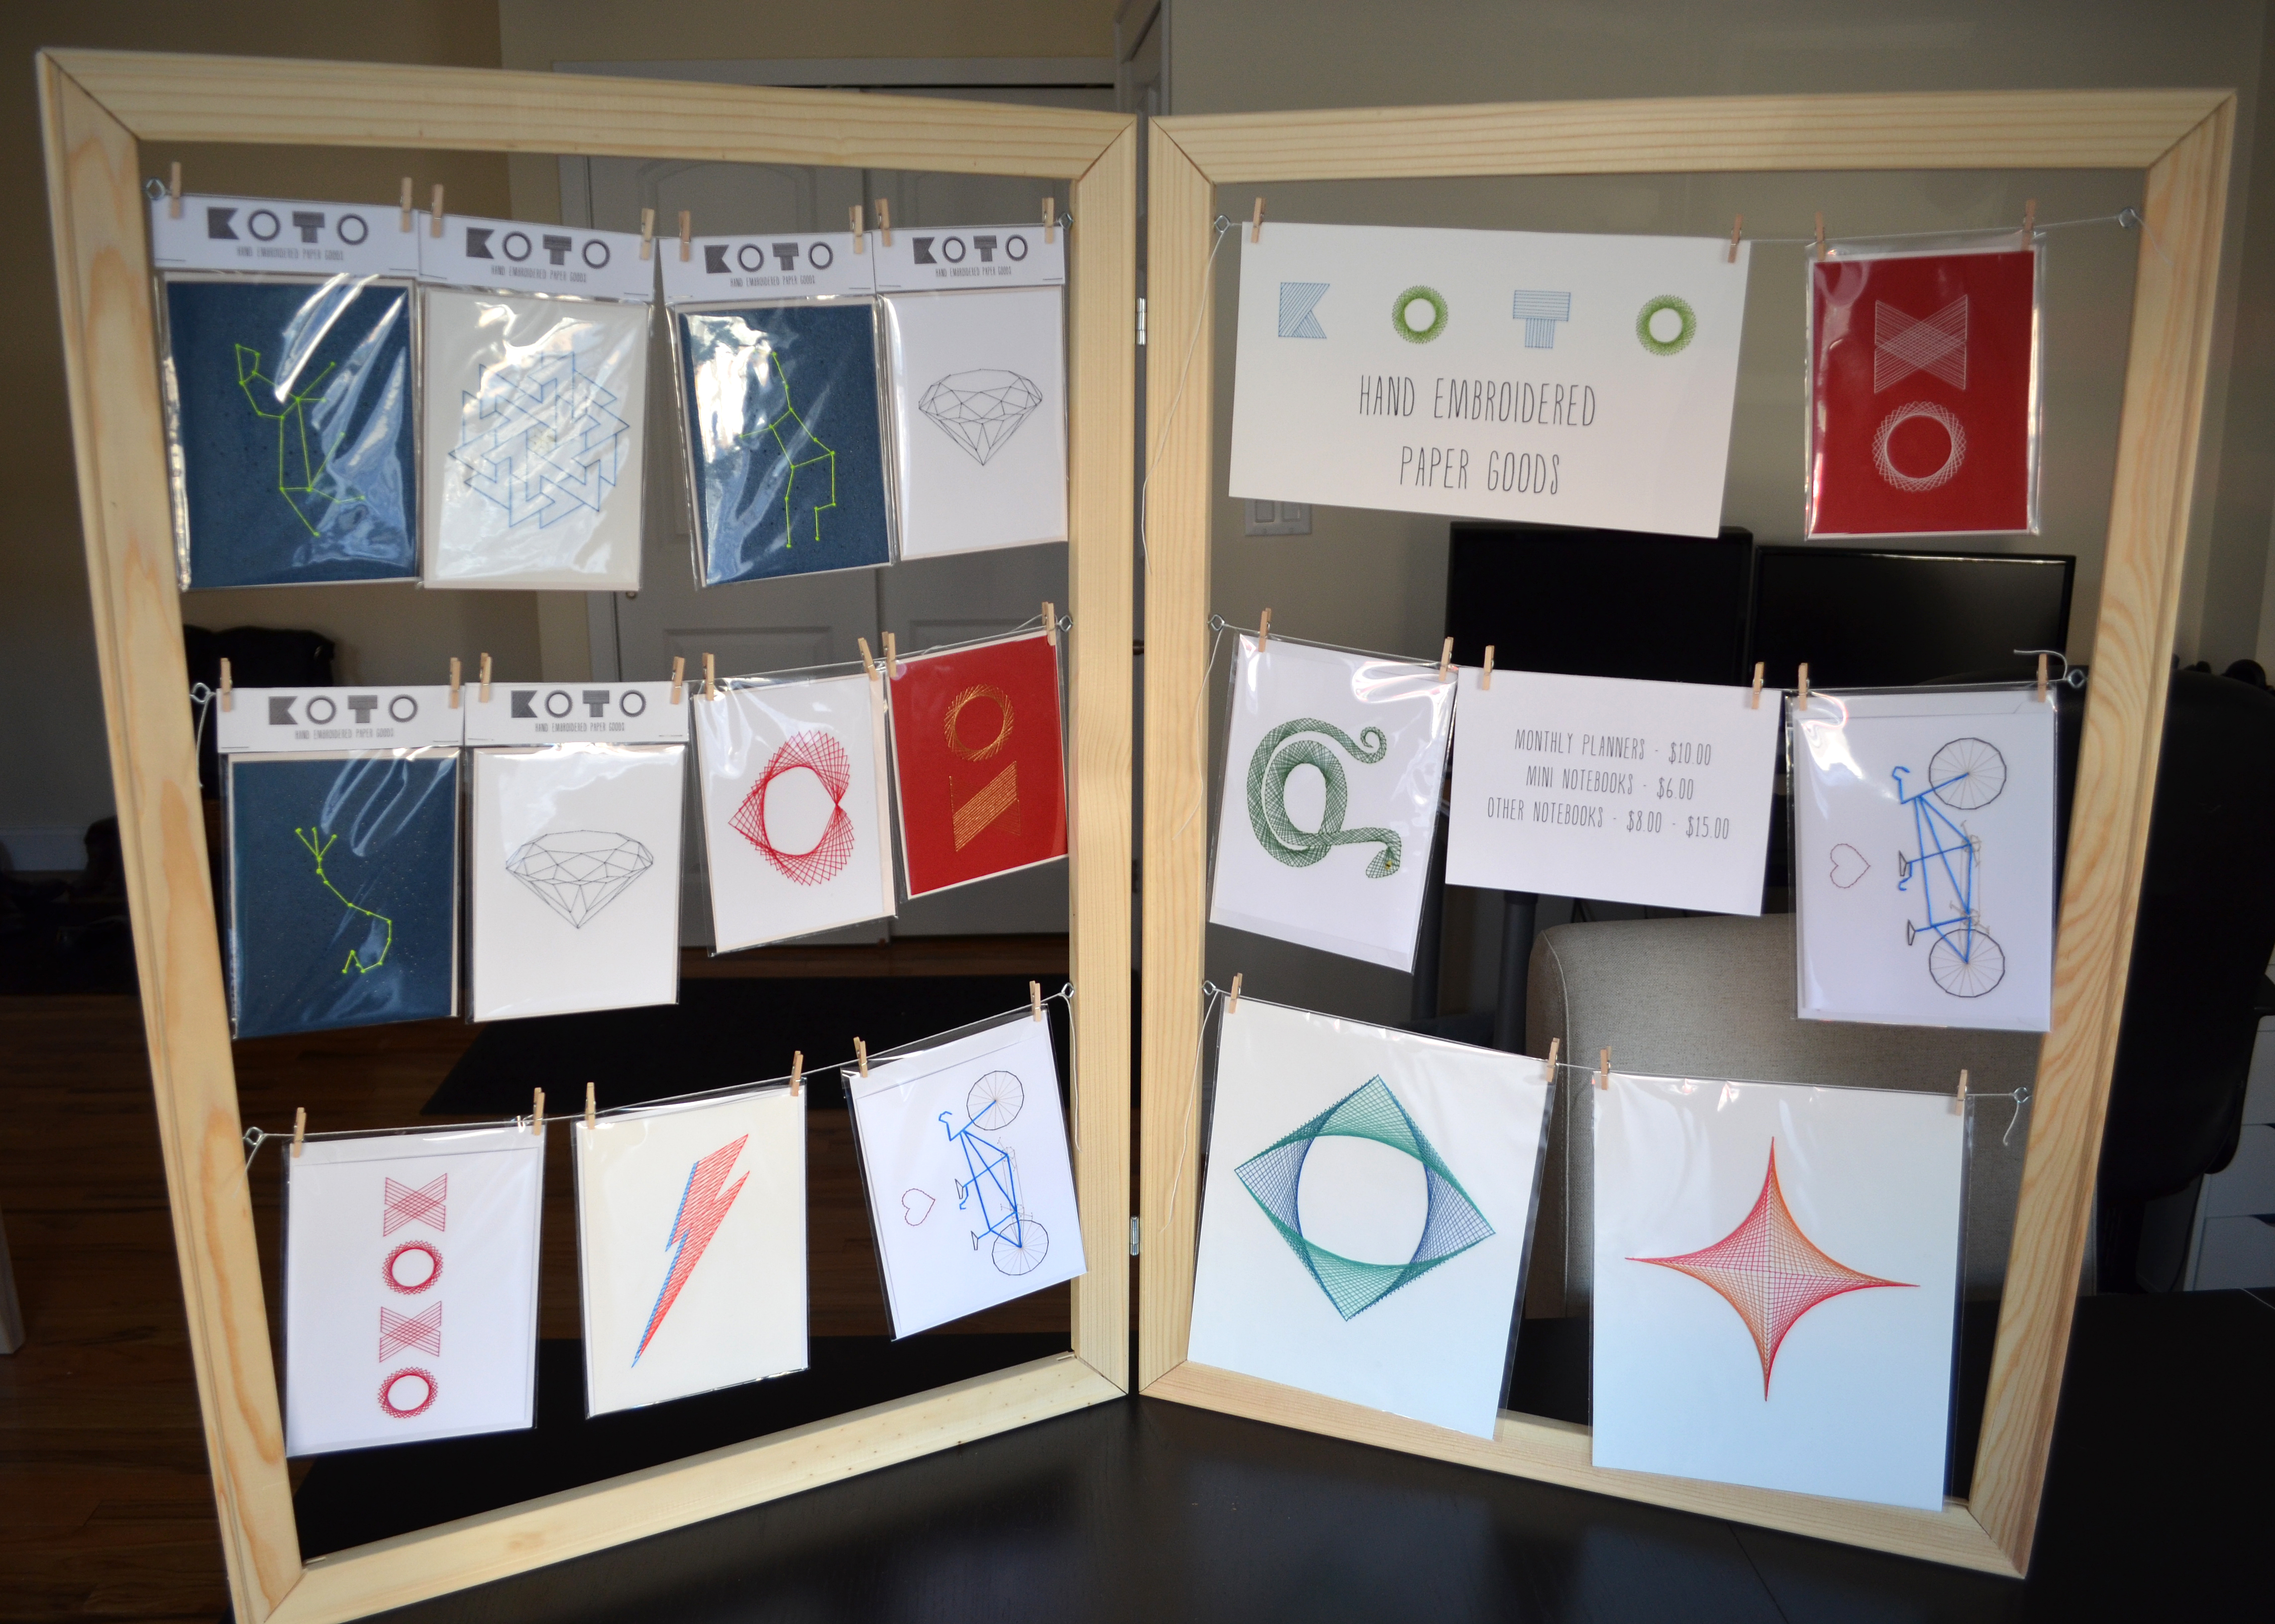
Here it is with the lines all strung and cards hung with clothespins (apologies for all the reflection). If you wish, you can add a fabric curtain on the back of the frames. I added one at the last minute, which was a curtain on clearance that I chopped up and hung from the back using wire. Ideally for the next show I will sit down and hem the edges nicely so they don’t stick out around the edges.
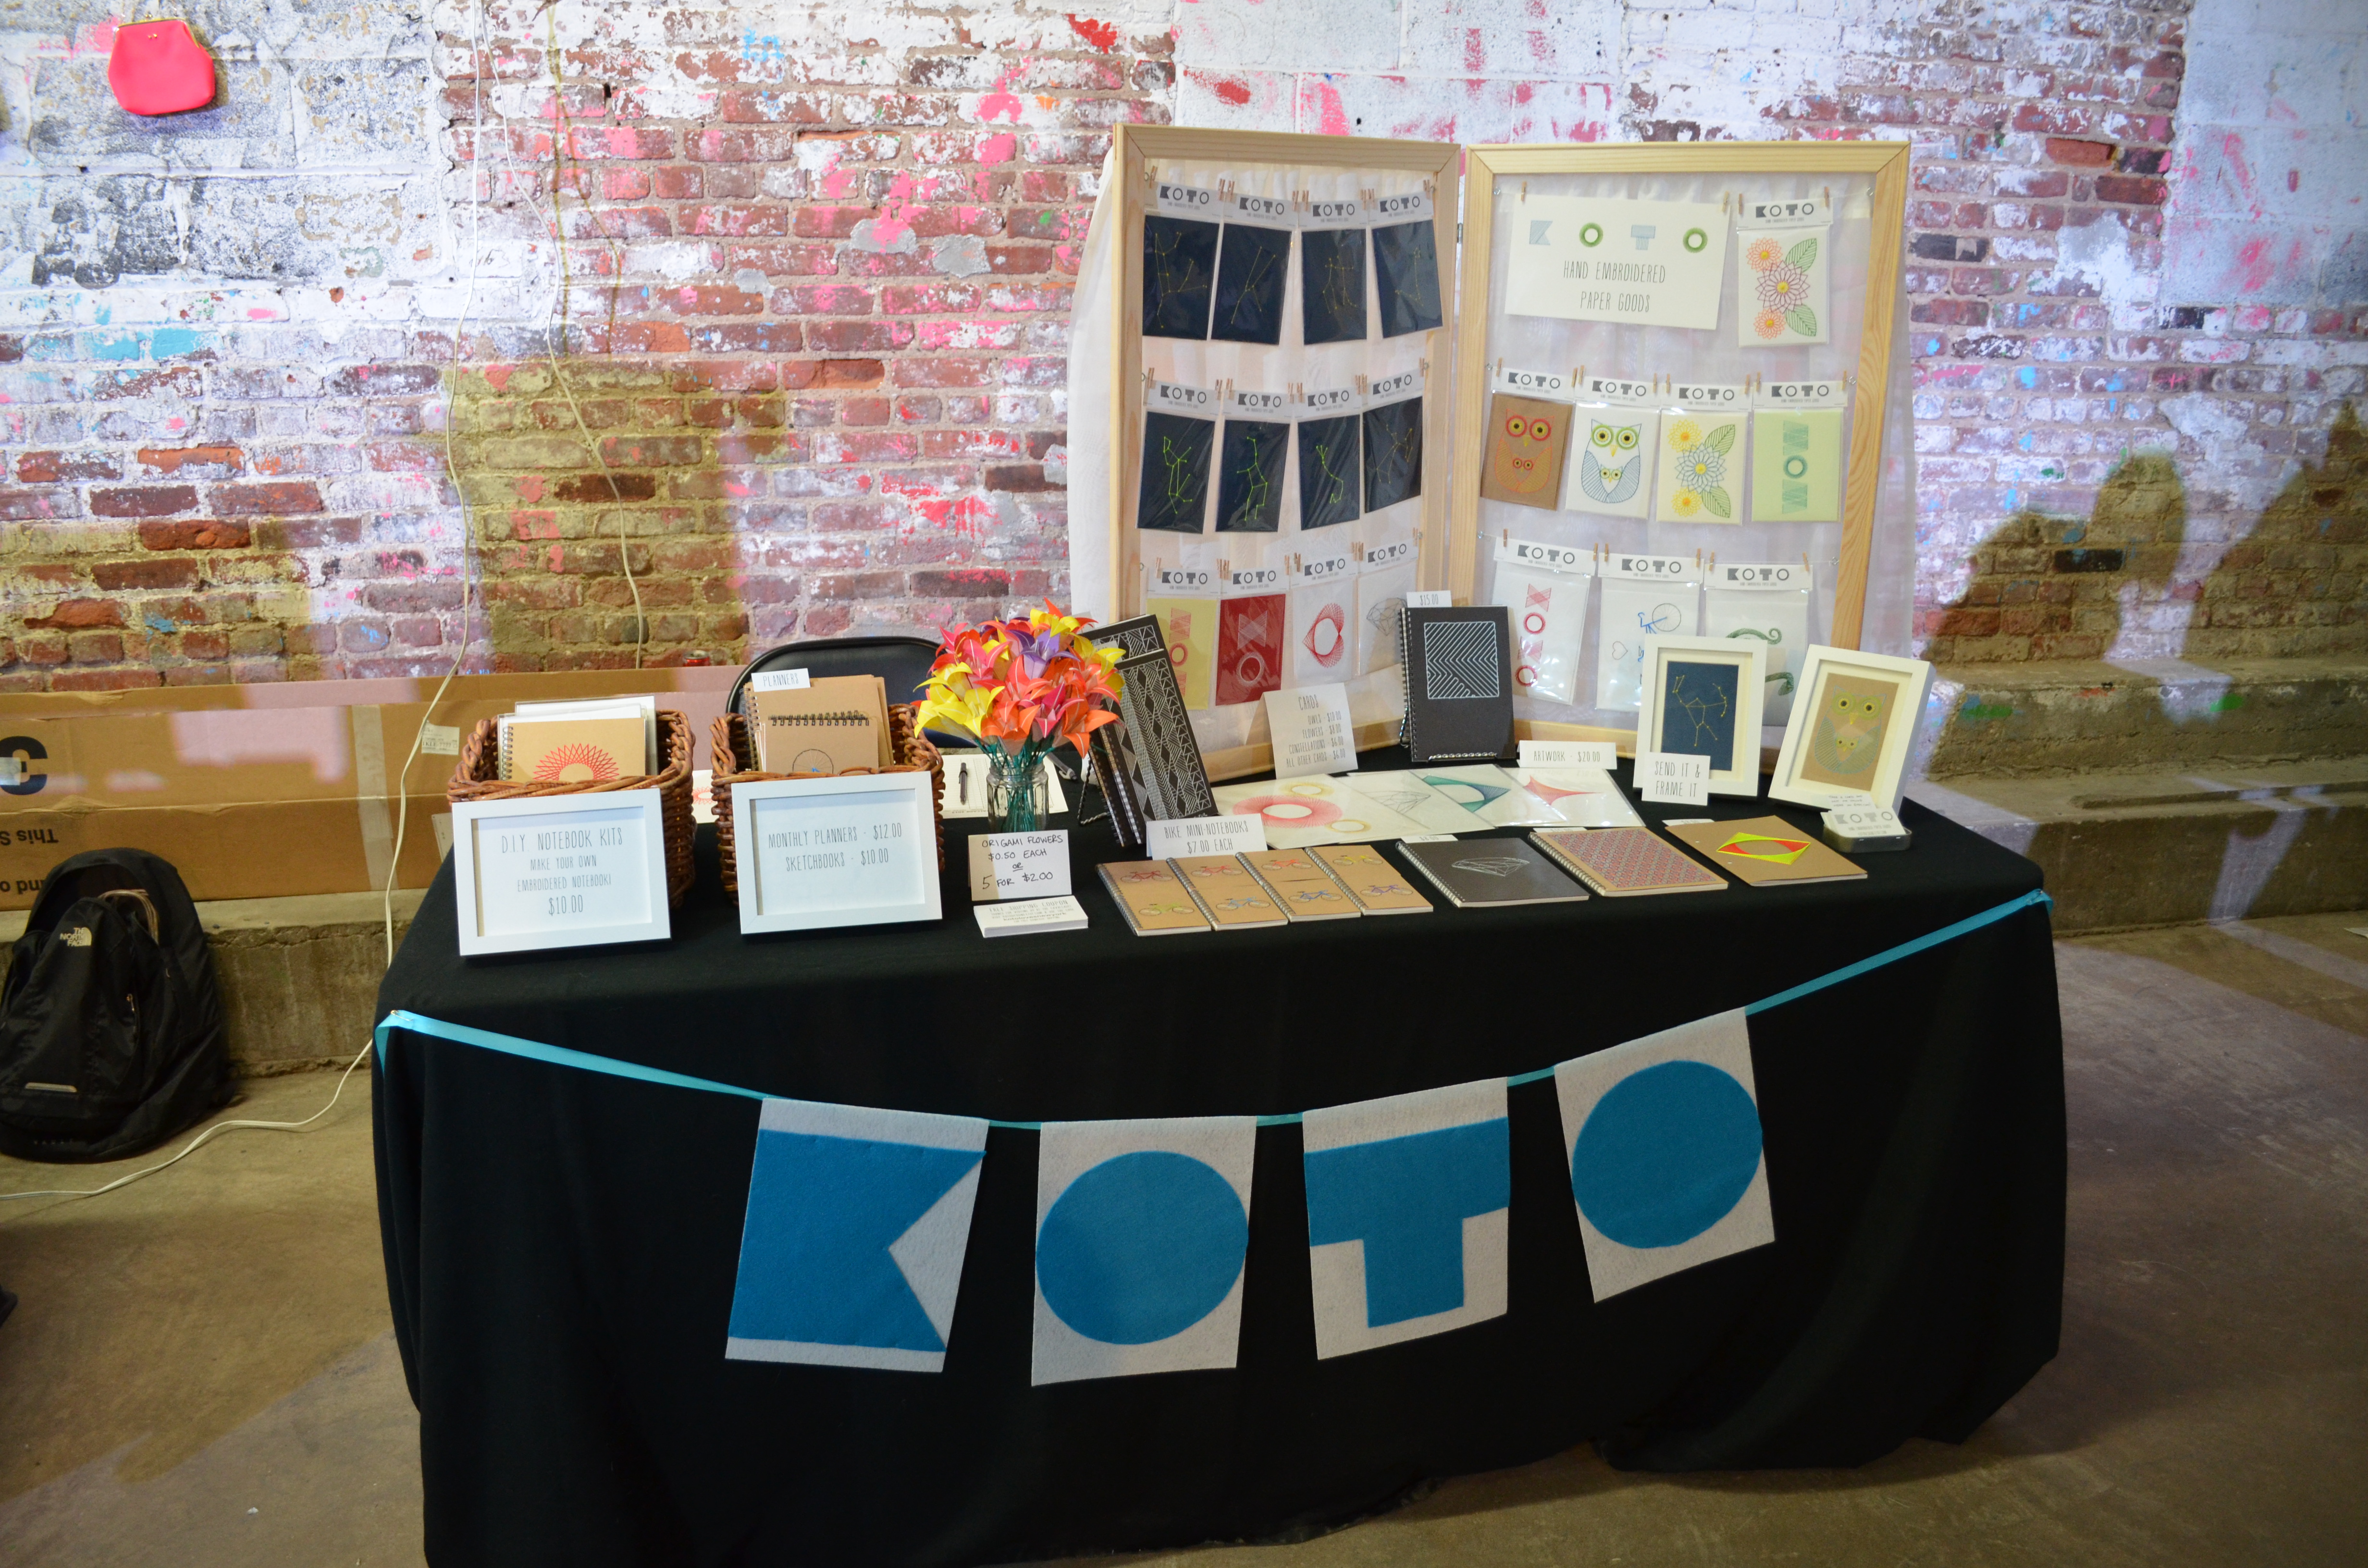
Here’s my table set up completely the morning of:
Learning and improving each time…Hopefully that’s helpful to anyone interested, I’d love to know if you give it a try!

Can you tell Me where you purchased the stretcher bars? I am doing a craft show in the fall with cards, and this looks like the ideal solution to display my cards. I like the idea of being able to reach them from the back