

Presenting a tutorial for one embroidered Valentine heart! Complete with template downloads and step-by-step directions. Check it out after the jump.
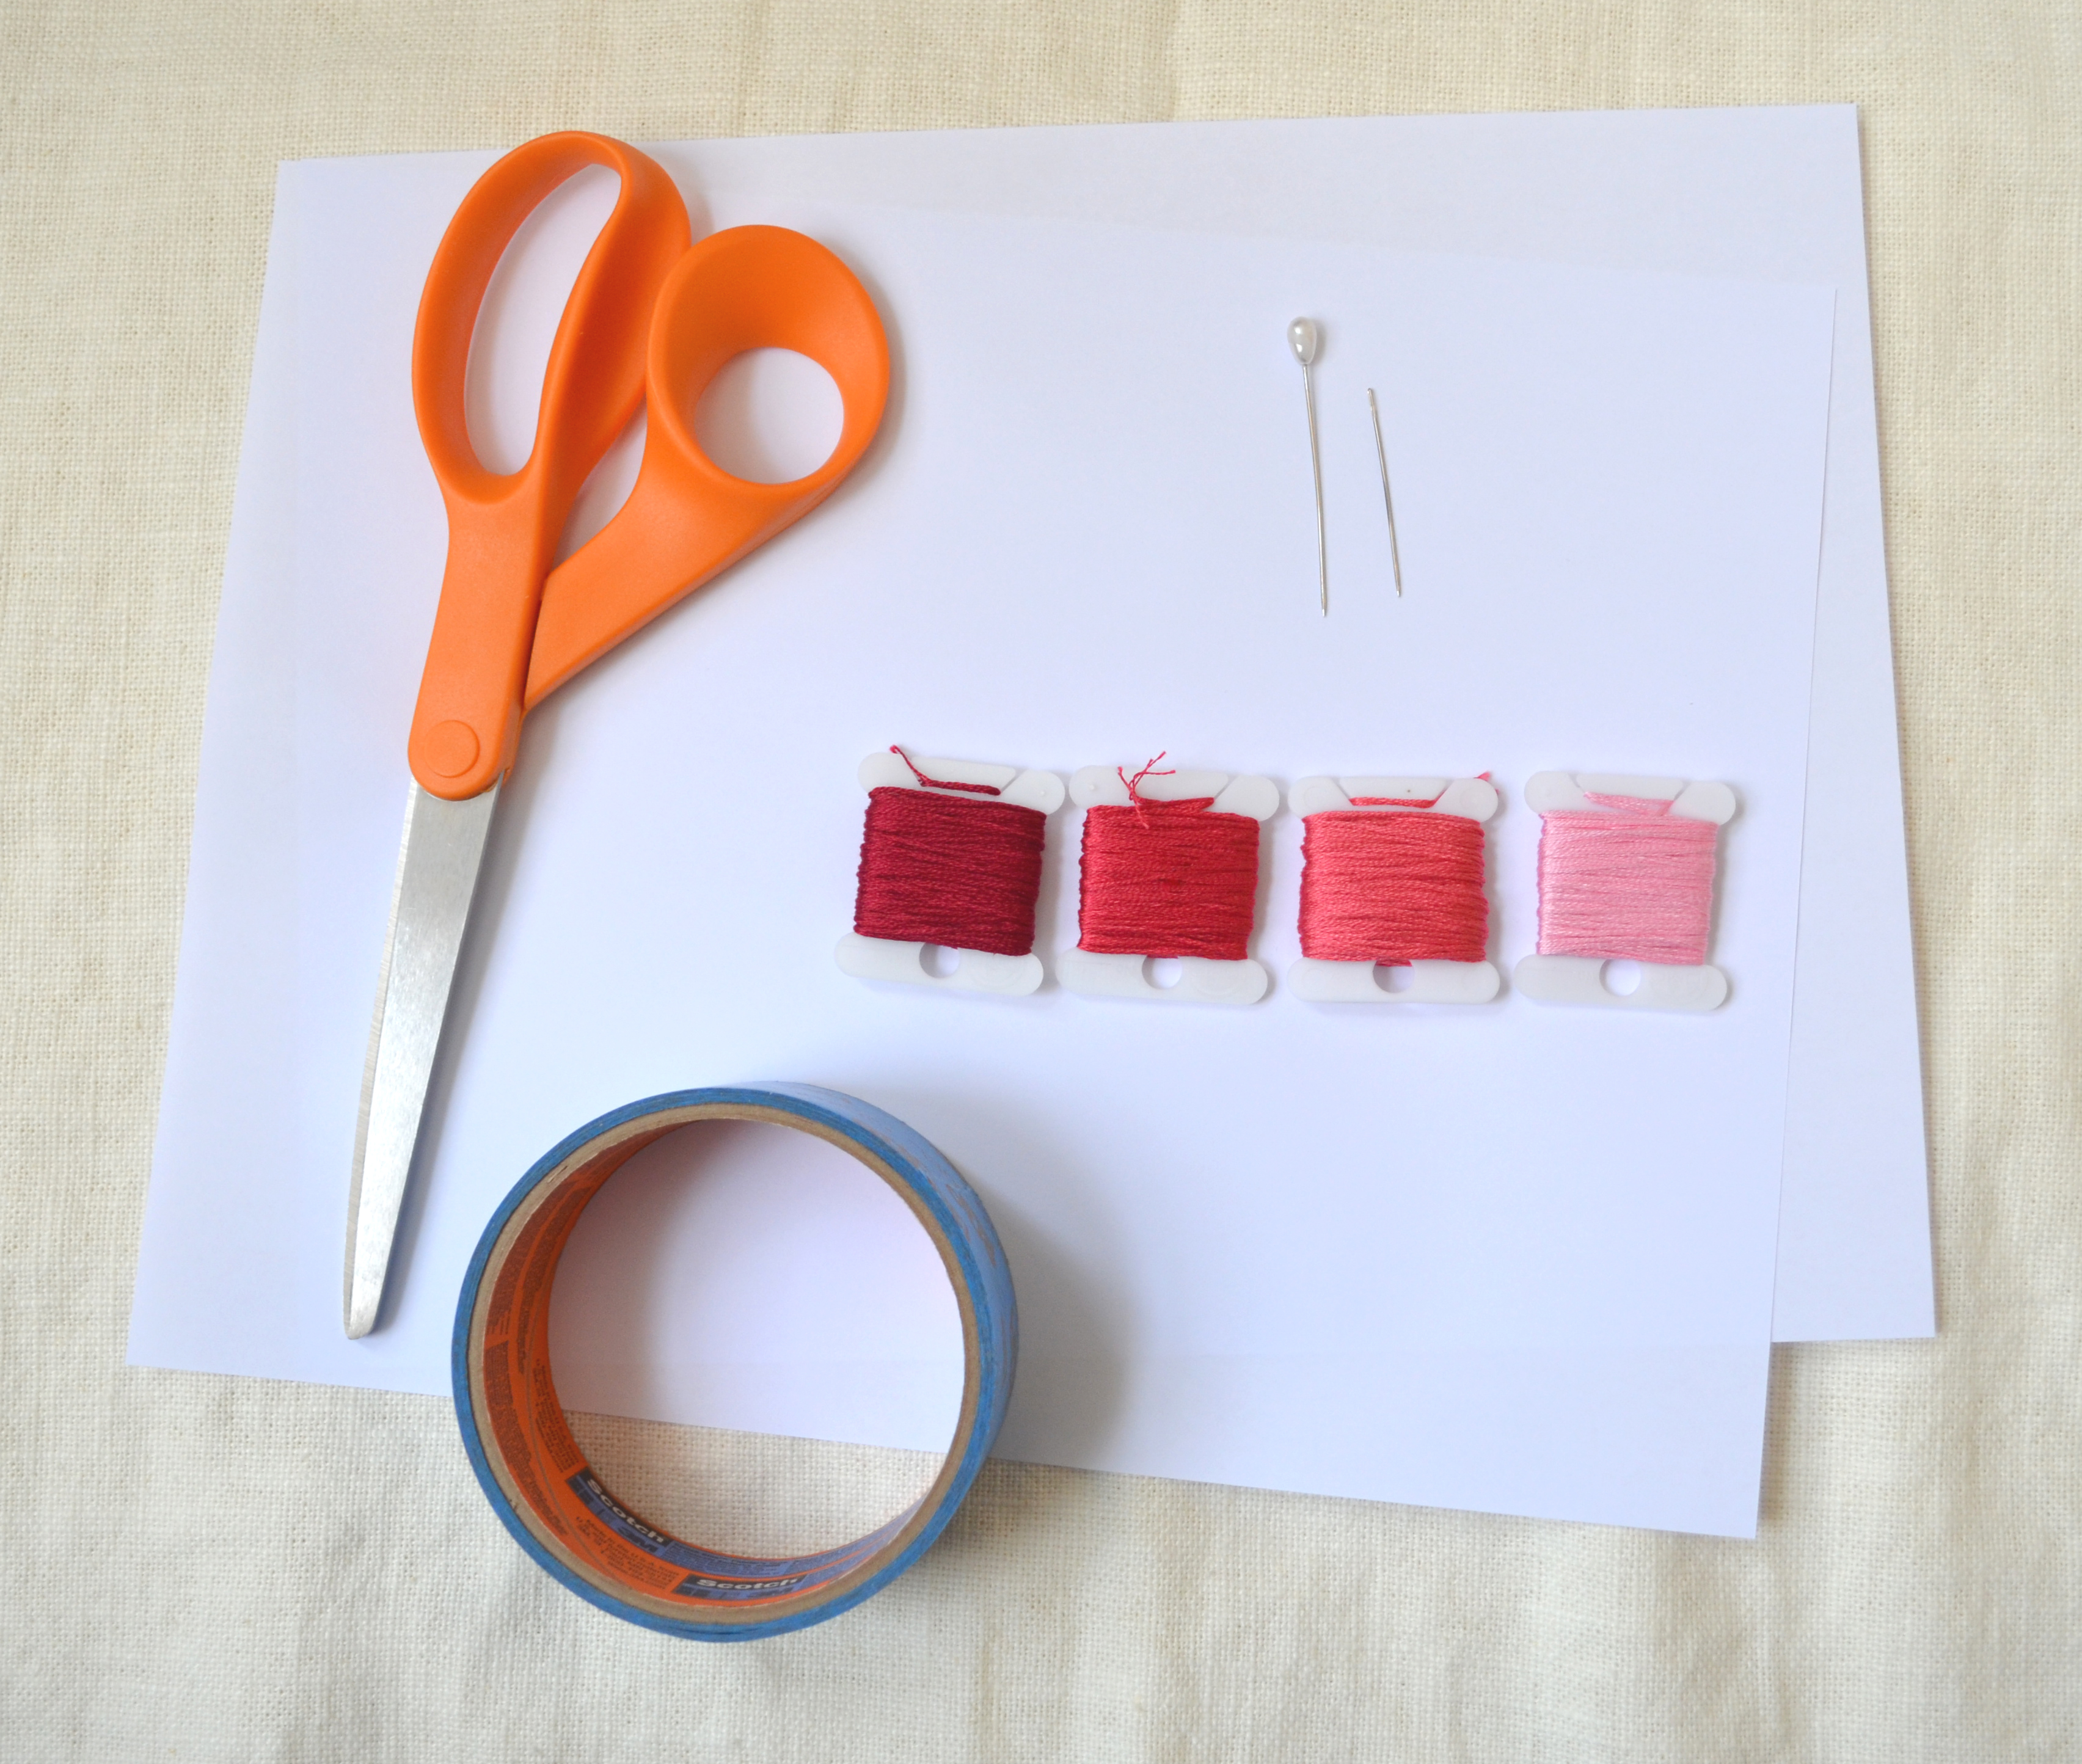
Materials:
- Scissors
- Tape (anything that’s easy to remove and not too sticky)
- One sheet of 8.5″ x 11″ heavy cardstock printed with this template. If you would like to fill in your own message at the center of the heart, use this template. Cover weight cardstock works well –you could also get creative and try using a cereal box or similar scrap cardboard covered with paper.
- One sheet of 8.5″ x 11″ paper printed with this template.
- Embroidery needle
- Pin with rounded top
- Embroidery floss
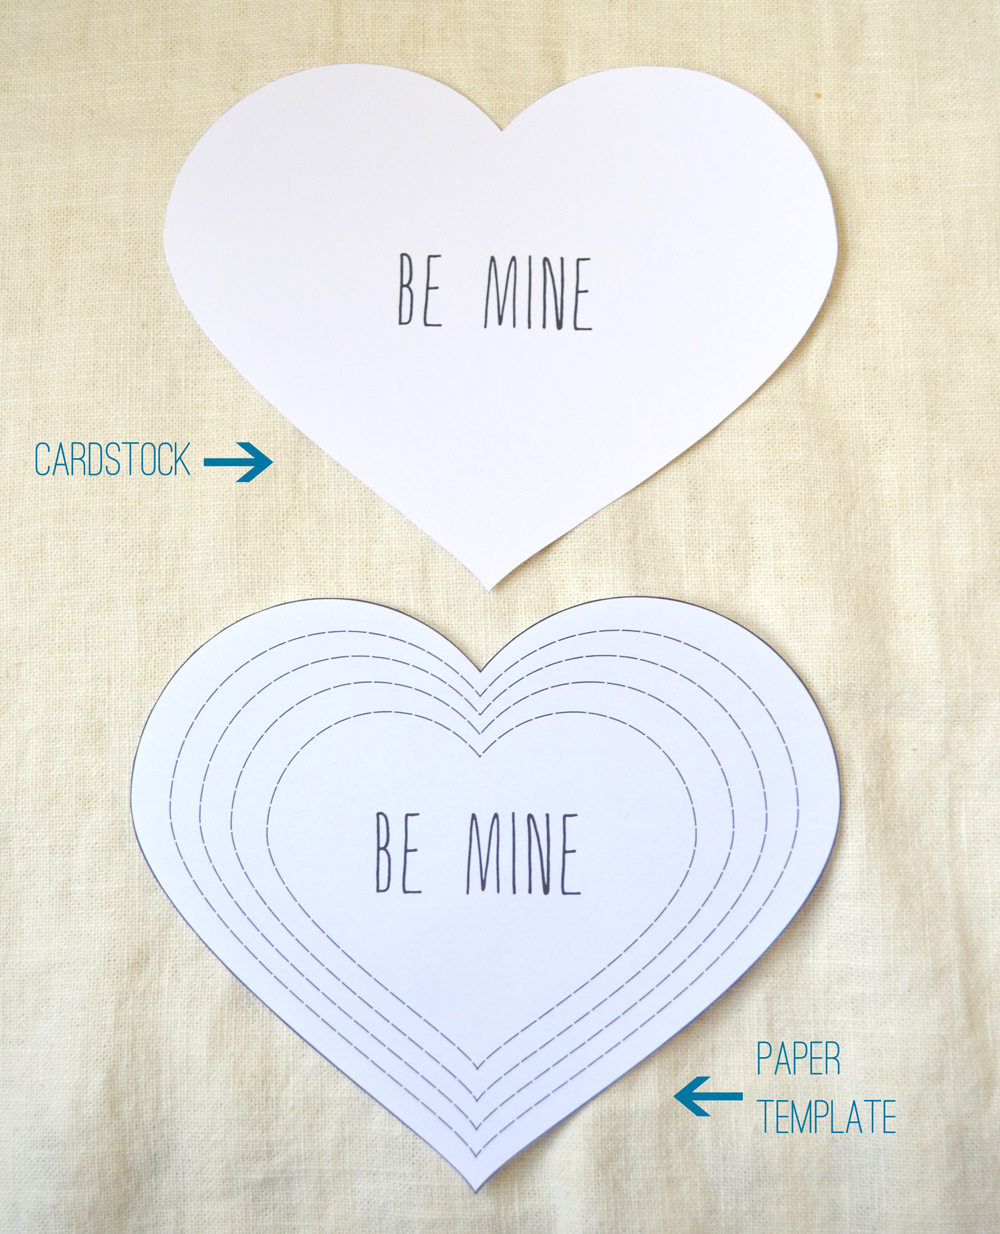
Print out one cardstock template and one paper template and cut out along the solid outline, making sure to trim inside the lines so the black mark around the edge doesn’t show on your final product.
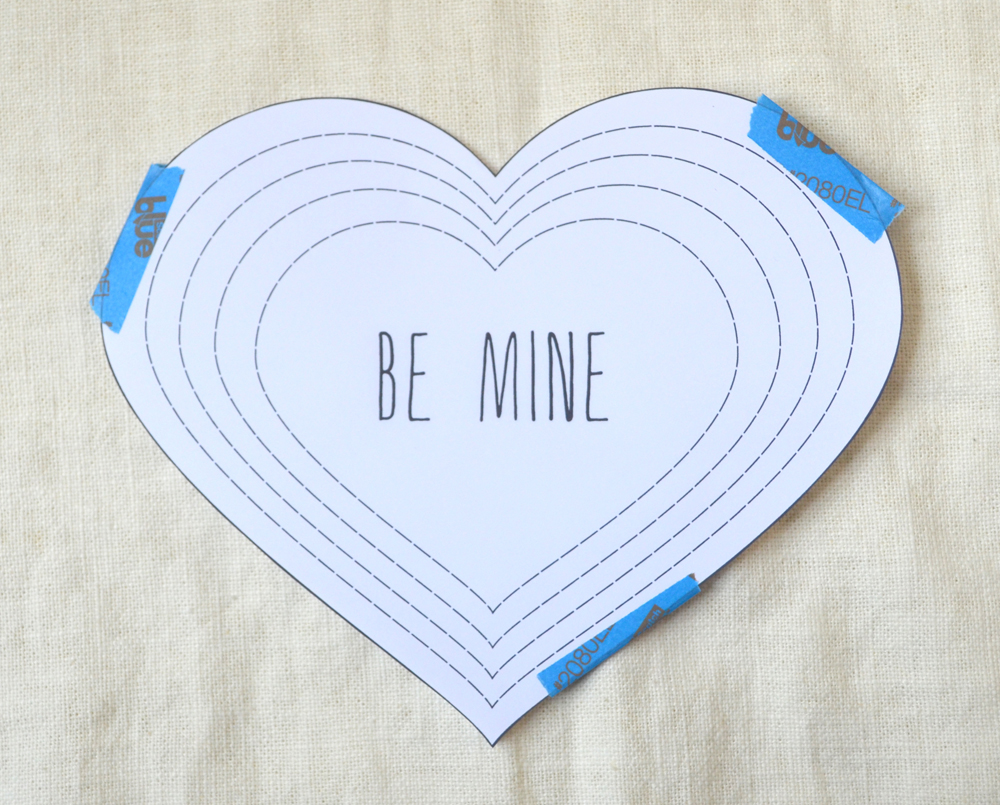
Tape the paper template on top of the cardstock template.
Using the rounded-top needle, punch holes at regular intervals along the dashed lines.
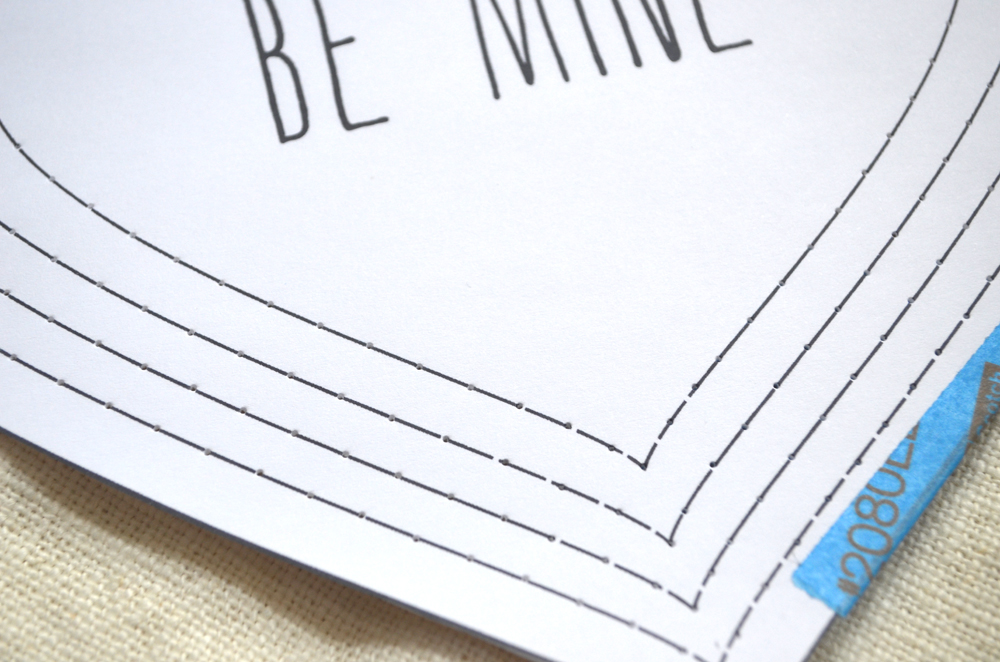
The dashed lines provide a rough approximation, you can get an idea in the image above. Just make sure you have a hole at each of the corners.
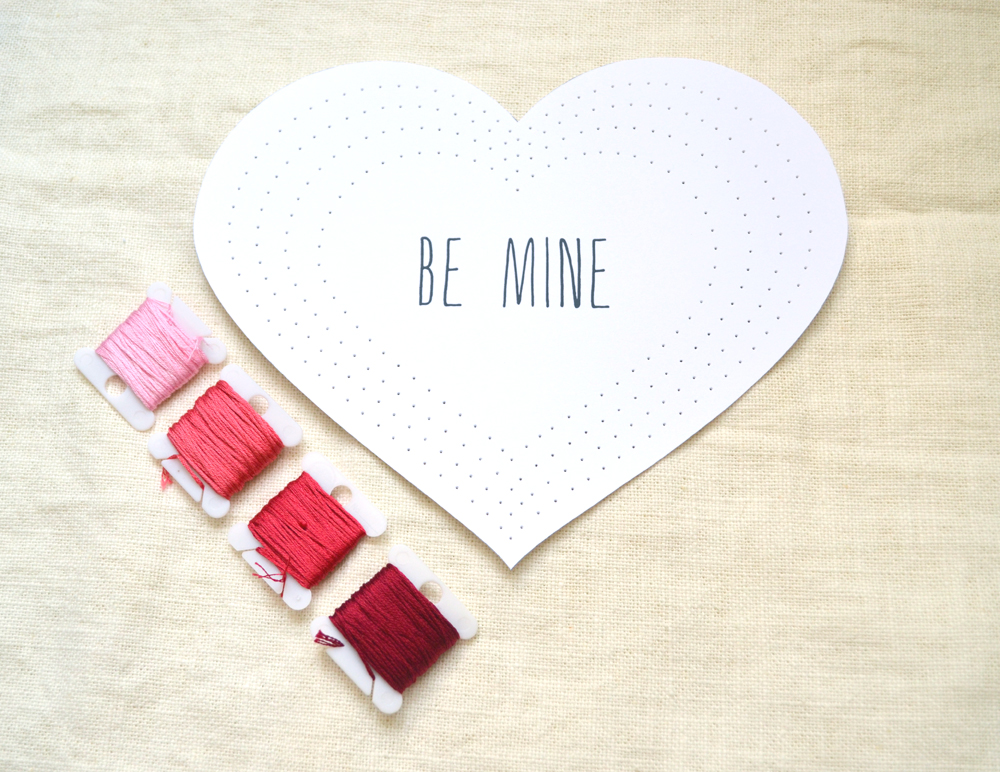
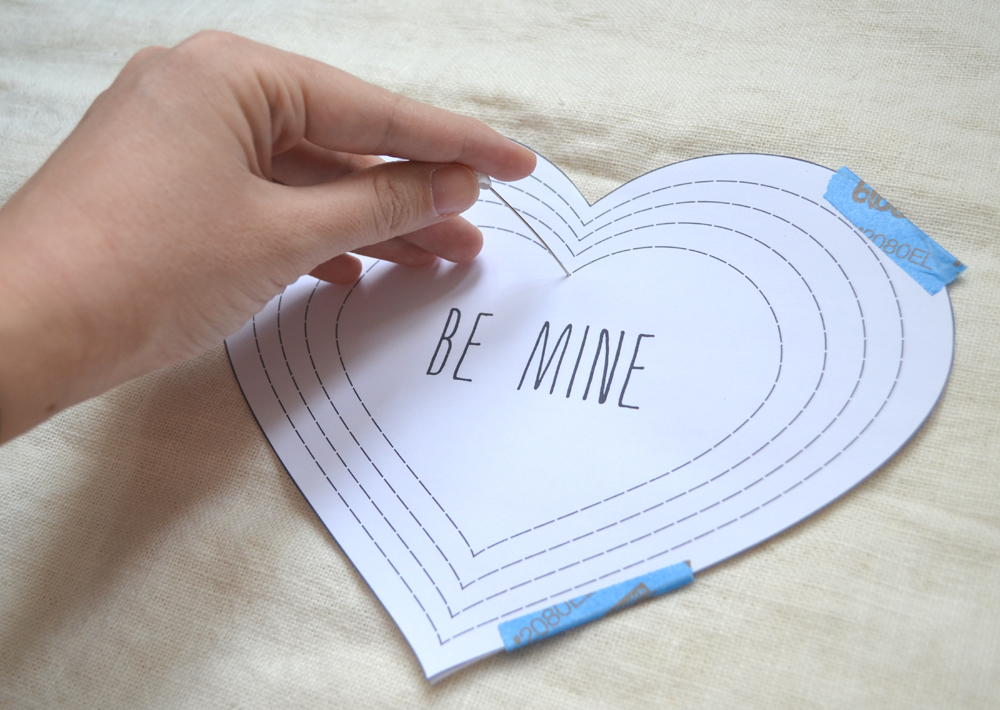
When you have completed punching, remove the paper template carefully so that you have a piece of cardstock with holes ready to be embroidered. I decided to use embroidery thread in a variety of reds/pinks for an ombre effect. (Is this trend over? Still pretty though)
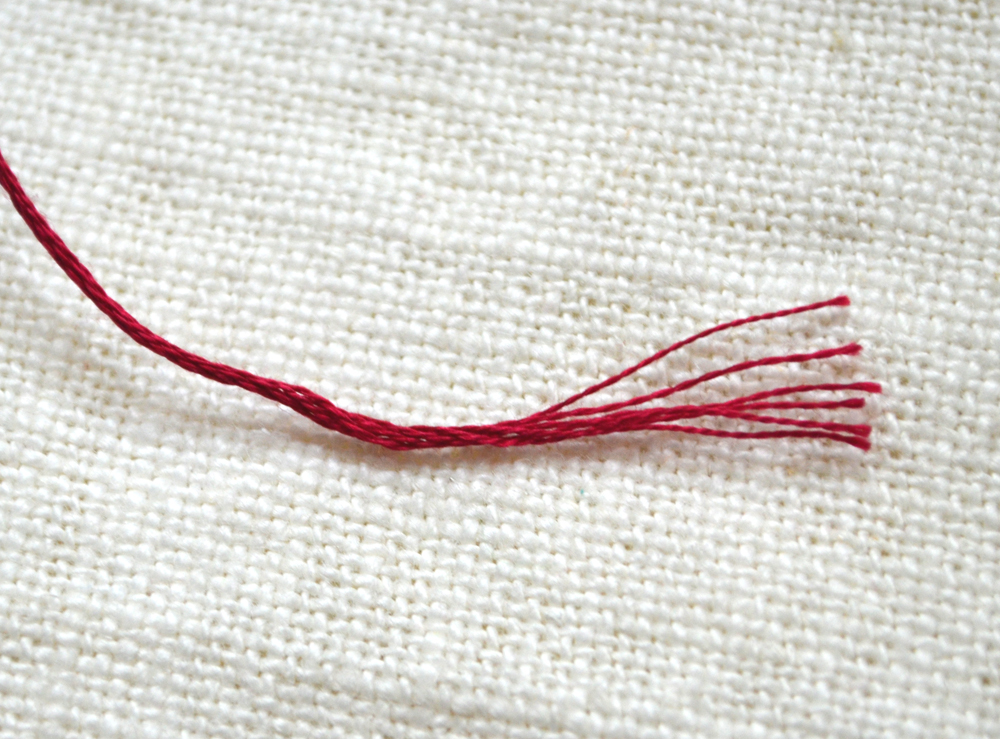
Cut about an 18 inch strand of the embroidery floss. I am using 6 ply thread. Ply refers to the number of little strands that make up the thicker embroidery floss. For this project, I used 3 ply, splitting the floss in half.
 You can use a back stitch to make the lines, but I prefer using a running stitch once around and then going back and filing in the gaps, as shown above. I had fun with illustrative gifs this post, as you see!
 I started with my darkest thread on the outer edge and used a lighter color for each successive inset heart. And ta-dah! You have a lovely, handmade, custom Valentine for your sweetheart.
